I know, I said I’d post this yesterday… but ya know how Sundays just get away on you sometimes? It was beautiful and we spent most of the day outside, in the garden and just, well…playing.
 Hopefully it was worth the wait?
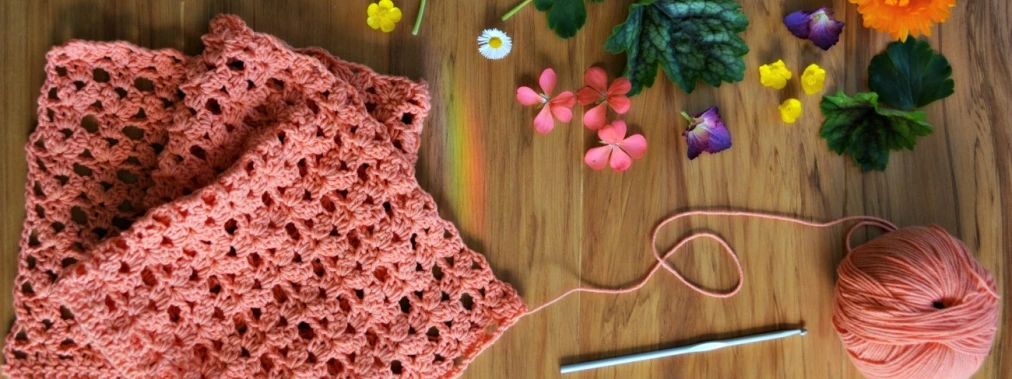
 Super easy, quick and crochetlicious!
 Well I think so anyway.
Crochet Belt Tutorial
You will need:
Yarn of your choice and a crochet hook to suit- I used DK and a 3.5mm hook (this is smaller than I would usually use, but I wanted it to be reasonably tight as I’m pretty sure the belt will stretch with time).
First up decide how long you would like your belt to be. This belt could be any length you choose… I like it with a bit of length to dangle, but you might not. Chain until you think it is long enough.
For this belt I chained 190.
NB. You will be crocheting along the top of your chain then around and along the bottom side of your chain working in rounds, always with the front of your belt facing towards you.
Single crochet (sc) in the third chain from your hook and along your belt to the last stitch of your foundation chain. When you reach the end, sc 4 times into the last stitch then continue along the bottom edge of your chain, all the way back to the beginning point. Sc four times in the last stitch (which was actually the start of your chain). Join with a slip stitch to finish the round, fasten off and join your next colour a couple of stitches down from your turning stitches.
 Here’s a good tip for you, I like to weave in when I crochet wherever possible – saves weaving in at the end (who likes to weave in anyway???)
 If you look closely at the photo above you can see that I am holding my two threads that I want to weave in above my hook, so when I pull my yarn through they will be caught underneath (and woven in out of sight in the back of your belt), continue down the length in this way and you wont have to worry about weaving them in at the end 🙂
OK back to the belt…
Continue along the top of your belt all the way to the end. When you reach the last four stitches (which made a little loop at the end of your belt); sc 2 times in each of the four stitches around the end.
 Sc in each stitch all the way back along the other side of your belt until you get to the other end, and once again sc in each of the 4 stitches around. Join with a slip stitch to the first sc and fasten off. At this point if you want a wider belt you could do another round or two following the same instructions.
Join your final colour, now you are going to be crocheting the picot edge:
 (Remember to hold your two pieces of yarn behind each stitch to weave in the ends).
In the stitch next to the one you have just joined your yarn to, *sc, 3 double crochet, sc in the same stitch, skip 2 sc*, repeat around the entire belt until you are back where you started and join with a slip stitch into the first picot.
To finish your belt, fold over one end and sew in two belt buckle-y things (I have no idea what you would call these if anyone can help please leave a comment!), they are half round with a flat end. I got mine at Spotlight. I added a couple of buttons for accent, but they really aren’t necessary.
 If you wove in your ends as you crocheted, that’s it, you are all done!
Enjoy…

PS. Other Green Dragonfly Belt patterns are located here and here.

Thanks for sharing this pattern! It’s super cute, and very simple—a plus when you’re trying to crochet in the midst of chaos lol! I’ve been planning to make myself a belt, and now I have a pattern to use! (BTW—the “belt buckle-y things” are called D-rings.) 🙂
LikeLike
I believe those things are called “D rings.” Beautiful belt!
LikeLike
Of course they are called D rings!!! I cant believe I didnt know that, thanks 🙂
LikeLike
Where can I purchase D rings?
LikeLike
Most craft stores sell them 🙂
LikeLike
Stopped by from Tangled Happy ~ luv the belt! Can’t wait to try it out!
LikeLike
Love it!
LikeLike
That’s really cute! Thanks for the tutorial 🙂
LikeLike
hallo!! We wanted to let you know that we linked your pattern to our post! and that we love your blog!
big kiss
Marietta+Panagiota
http://doublecrochets.blogspot.com/2011/10/1st-double-crochets-meeting.html
LikeLike
How do I sew over the end on the last step?
LikeLike
Hi Heather, I just fold it over the D rings and sew from the back being careful not to go all the way through so it doesn’t show on the right side. Both D rings are sewn into the one side. Does that answer your question? Janette
LikeLike
simply wonderful
Merci beaucoup !!!!
LikeLike
really cute belt, i think my daughter will be sporting one in the new year 🙂 thanks for the tutorial!
LikeLike
A message from Portugal: Thanks for sharing your lovely work and ideas!
It’s a joy to see.
LikeLike
Thank you for the fantastic crochet belt tutorial and pattern. I could figure out how to finish mine with the d-rings. Peace and blessings.
LikeLike
Great tutorial! I will have to try this! One thing I noticed though, that someone else may have mentioned already is that the edging is not actually a picot edging but rather, more of a shell edging.
LikeLike
oops I meant couldn’t figure it out. 🙂
LikeLike
Hi, just fold your belt end over (towards the wrong side), the flat end of the D ring will sit under the fold, sew the two sides together with the D ring encased. Hope that helps!
LikeLike
You can’t imagine how much I want this belt — and me, an old lady! LOL
LikeLike
Making this now. Thank you for posting this 🙂 My daughters want me to make one for them too! I love your blog!
LikeLike
Hi Janet, I love this belt, thanks for the tutorials and for sharing these great ideas, I am new whit this crocheting things and I’m loving it.Hope one day I’ll be as good as you.
LikeLike
Love this!
LikeLike
Absolutely lovely! Thanks for your generosity!
LikeLike
Reblogged this on Cloudier Designs and commented:
Great idea for a colorful accessory. Endless possibilities with this one!
LikeLike
What a wonderful idea! Thank you very much for sharing!
All the best from Germany
Tina
LikeLike
Just what I was looking for. Thank you so much for the wonderful tutorial.
LikeLike
Love your belt patterns. Going to make them for my
Mother, she has lost a lot of weight and it’s hard to find a belt that goes with her dresses. This solve the problem. Thanks a lot
LikeLike
Reblogged this on bangocrafts and commented:
guess what my next project is going to be? I LOVE THE IDEA! Great way to use up some left over yarns.
LikeLike
Found this pattern while looking for a pattern for a tote and decided to make it instead! 🙂 Ty for posting it!
LikeLike
Hello, Love the belt….What size D ring did you use?….thanks!
LikeLike