It is starting to get cooler here, so I whipped up both the kids some fingerless mittens this week. Really there is not much simpler than a basic fingerless mitten. I confess, I don’t even bother to shape them… just crochet a rectangle and sew up the side leaving a thumb hole.
 Here’s a quick tutorial so you can make some for a little person you know… or maybe even yourself! The owl – once again inspired by Jacqui – is a tiny version made mostly with half double crochets. For anyone bored of owls, I promise these will be the last ones – for a little while at least 🙂 If you fancy a pair of even easier rainbow mittens check out my other tutorial here.
Ingredients:
- Yarn in desired weight, with appropriate sized hook for the mittens… I used a light worsted merino and a 4mm hook. Any yarn and hook combination will work fine, just make sure the ‘fabric’ is soft and has a bit of give (not stiff and unwieldy).
- Small amount of 4 colors of yarn for the owls.
- Even smaller amount of white yarn for the eyes.
- 4 small buttons for eye centers.
First up, crochet a chain that will fit snugly around the largest part of the hand (ie. just under the thumb).
Using this as your guide for width, crochet back and forth (I use singe crochet) to create a rectangle that is the length you want to reach from just below the second knuckle to wrist. Remeber to add a chain 1 at the end of each row to keep everything square.
 For Maia’s gloves (just as a guide) my foundation chain was 22, and they are 24 rows wide.
Sew up the short edge, leaving a small gap (about 1 inch) for the thumb hole:
 Repeat for the other glove 🙂
Owl motif. This is a pretty cute but rather small owl (measuring 7cm (2 3/4inches) wide and 8cm (3 1/4 inches) tall).
1. Make a magic circle and chain 2, half double crochet (hdc) into the circle 11 times (12 hdc). Pull tight and join with a ss to complete ring: Fasten off.
 2. Join new color and chain 2, hdc in same space. Crochet 2hdc in each space between around (12, 2hdc pairs): Fasten off.
 3. Join new color; Crochet 3 hdc in each space between pairs around (12, 3hdc clusters): Fasten off.
 You are now going to be crocheting the body of the owl; I apologize for not getting a picture of this; here’s the final product:
 Body- in contrasting (brown) yarn:
4. In this round we will shape the owls head, the stitches of this round are worked into each of the stitches of the previous round (not between the clusters). Attach new color using a slip stitch and chain 2. In the next stitch make 2 hdc, then make 1 hdc in each of the next 2 stitches, then 2 hdc in the next stitch. 1 hdc in each of next two stitches, then 2 hdc in next stitch. 1 sc in next stitch and every stitch around… Slip stitch into initial 2 chain to complete the round.
5. Next round (same color do not fasten off) Chain 1 and work 2 hdc in next stitch. 1 hdc in next stitch, 1 sc in next stitch, 1 ss in each of next 3 stitches. Then 1 sc in next stitch, 1 hdc in next, 2 hdc in next and 1 sc. Chain 1, then slip stitch into next stitch and fasten off. Leave a long end to sew your owl to the gloves.
Eyes:
Make a magic circle and chain 2, hdc into the circle 7 times, pull tight and join with a slip stitch to finish. Fasten off leaving a long end to sew eye in place. Repeat three more times for other eyes.
 Put it all together:
Position eyes on owl and sew in place using long ends, then sew buttons (using black yarn). Sew beak carefully in between eyes using orange yarn (I find doubled thread works best). Once owl is assembled, sew onto outside of mitten, taking care because if one front has the thumb hole on the right, then the other one must have the thumb hole on the left 🙂 I chose to do this after the mittens were sewn up because it meant I could pin the owl in place when Maia had the gloves on to position them so it looked best.
 Twit twoooo… you’re finished! Enjoy your owl mitts!
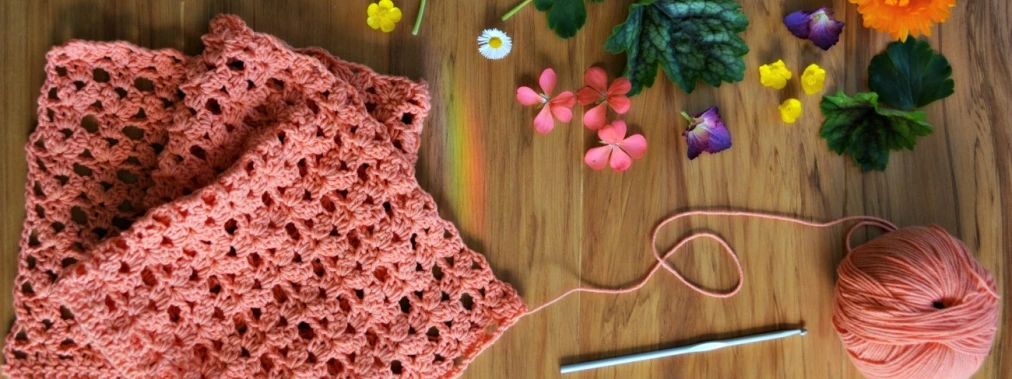
 I thought I’d start the week with a project I recently finished, and have been enjoying now that autumn is starting to chill into winter.
 And it has to be nice and long. So it can be wrapped 2, 3 or 4 times around depending on how snuggled you want to be. As you can see it’s really a very simple make, all double crochet using a 7mm hook and a variety of double knit/worsted weight yarns for 7 rounds (8 including the starting chain- which was 200).
 Just what’s needed for these cool autumn mornings.
  And here I am trying to get a photo of my scarf and the tree (at the top) in the background this morning in the fog… I barely succeed on both counts!
 The yarns are all man made acrylic/nylon mixes, but oh, it is so soft. And purple, don’t you just love purple? I do! Have a great week!


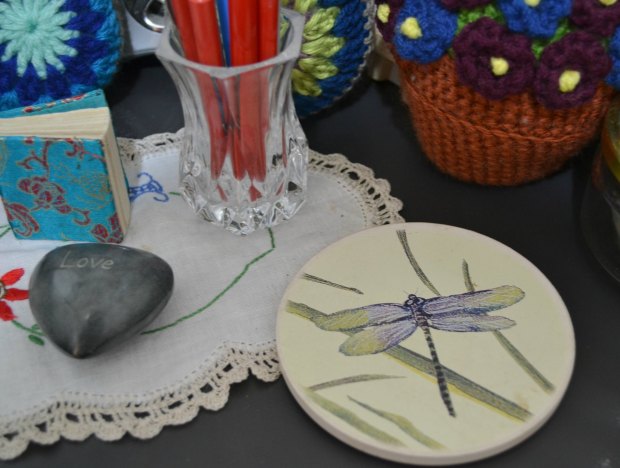 When I’m writing, this is where I’m sitting and this is what is inspiring me. As you might have guessed, I LOVE dragonflies,so there are plenty around. I just picked up that teeny blue book at a trade aid store over the weekend and I’m still deciding exactly what I will put in it, maybe a story with some tiny illustrations?
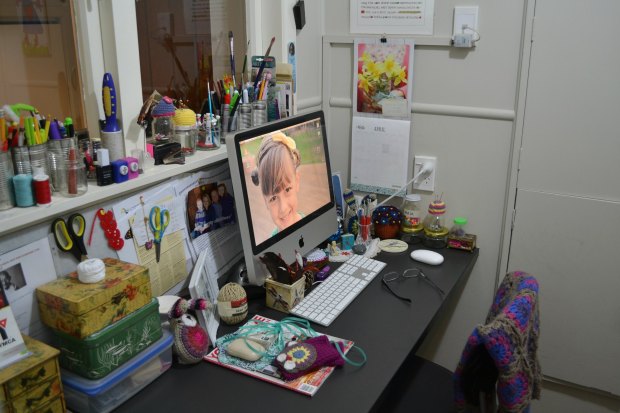 Most of the time there is no clear space on the desk at all…
 To me it’s perfect!
