Squeakers!
 Its finally here!!
How to make your own tiny, adorable crochet mouse… just in time for Christmas!
I found the best results with these mousies using 4ply sock yarn and a 2.5mm hook. I also made some with 3ply and a 2mm hook. I’ve yet to try this pattern with any heavier weight yarn, and I must admit I’m reluctant to, as I like the small size that the lighter weight yarn and small hook gives… I may well yet try one an even smaller mouse (squeakness… baby mice!)
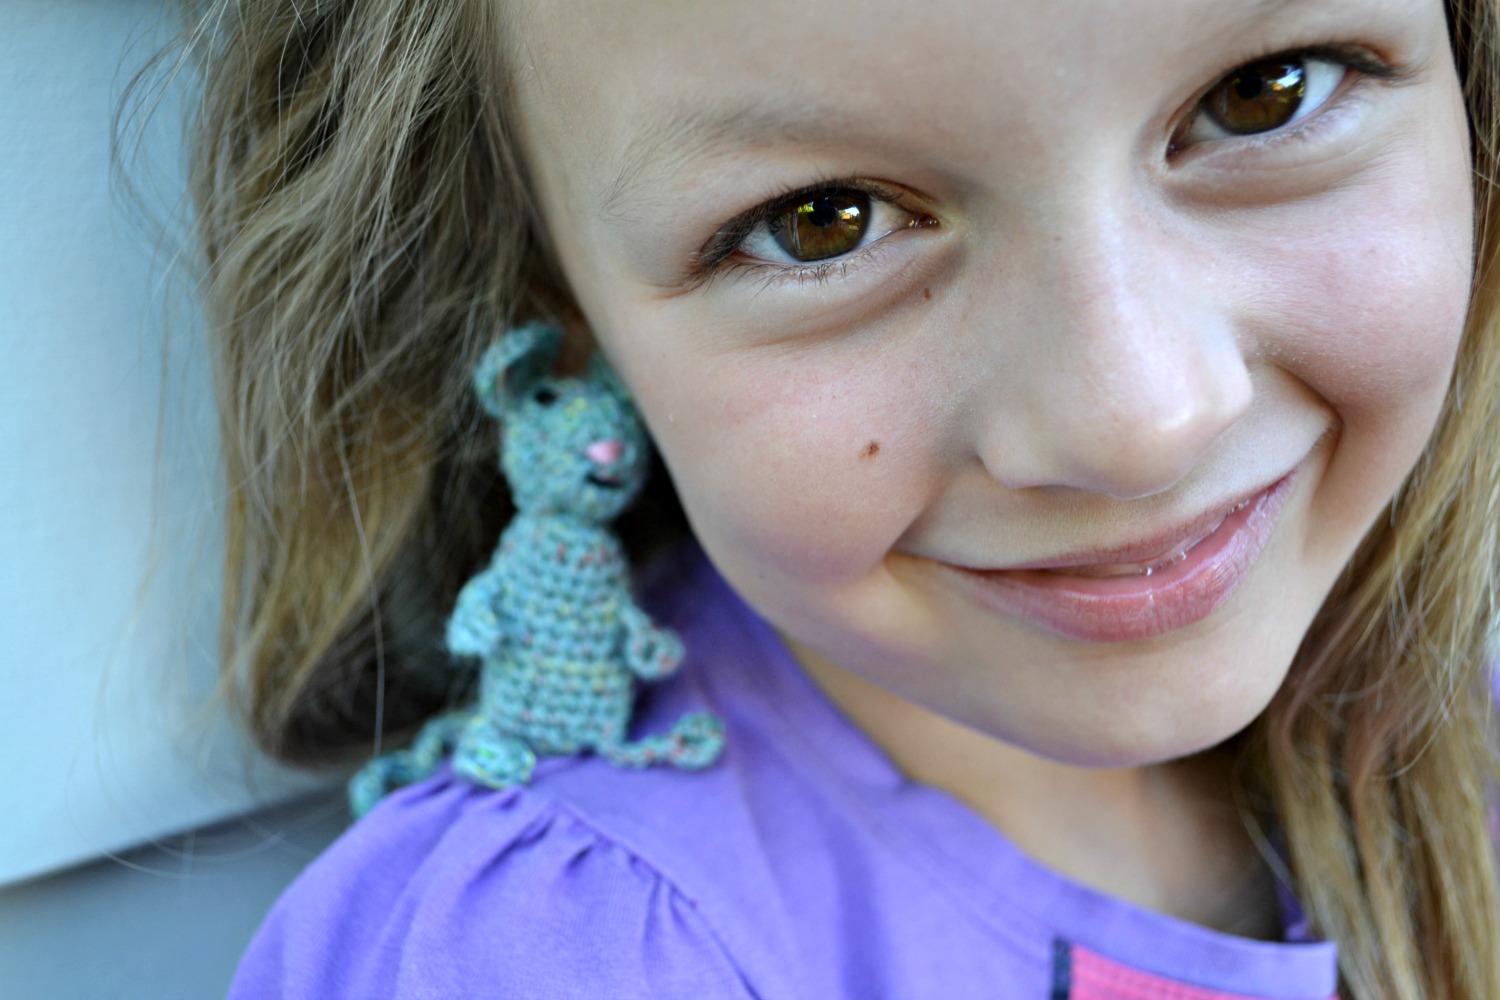
These mice are about 6-7cm tall (2.5 inches) and are perfect for small hands. Holding….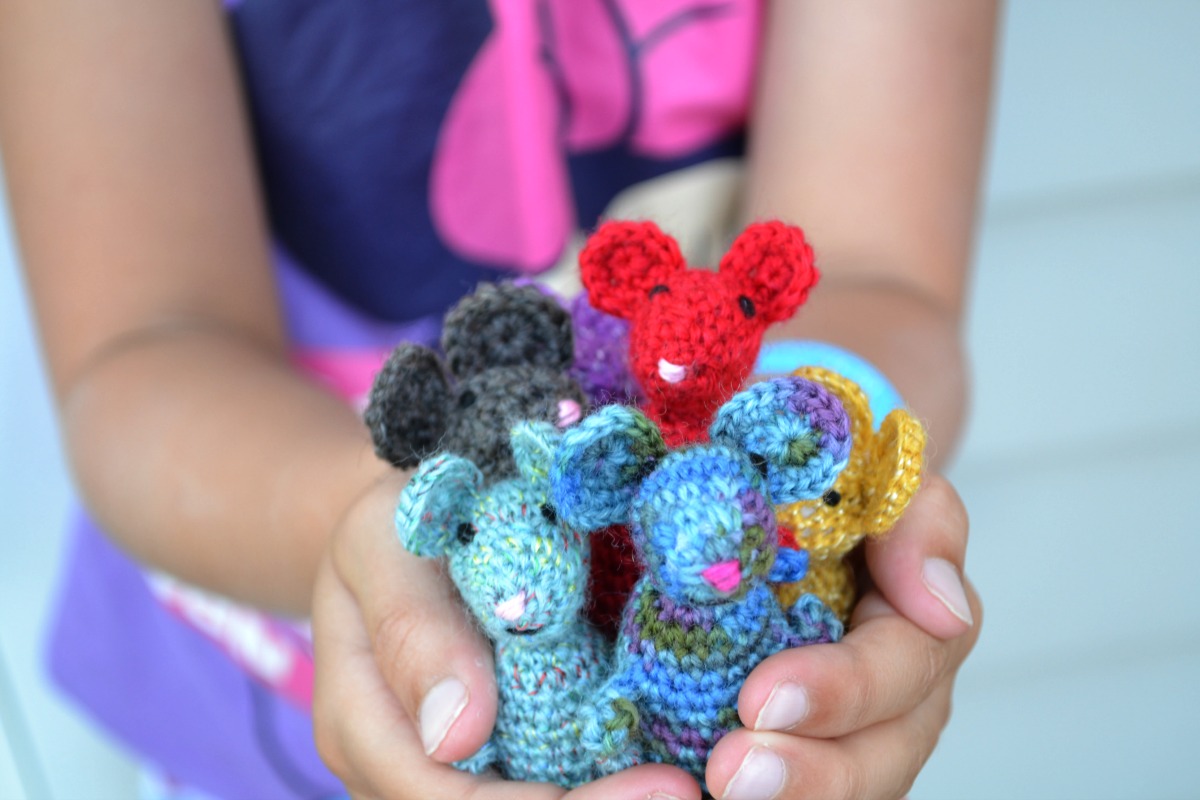 and loving♥…
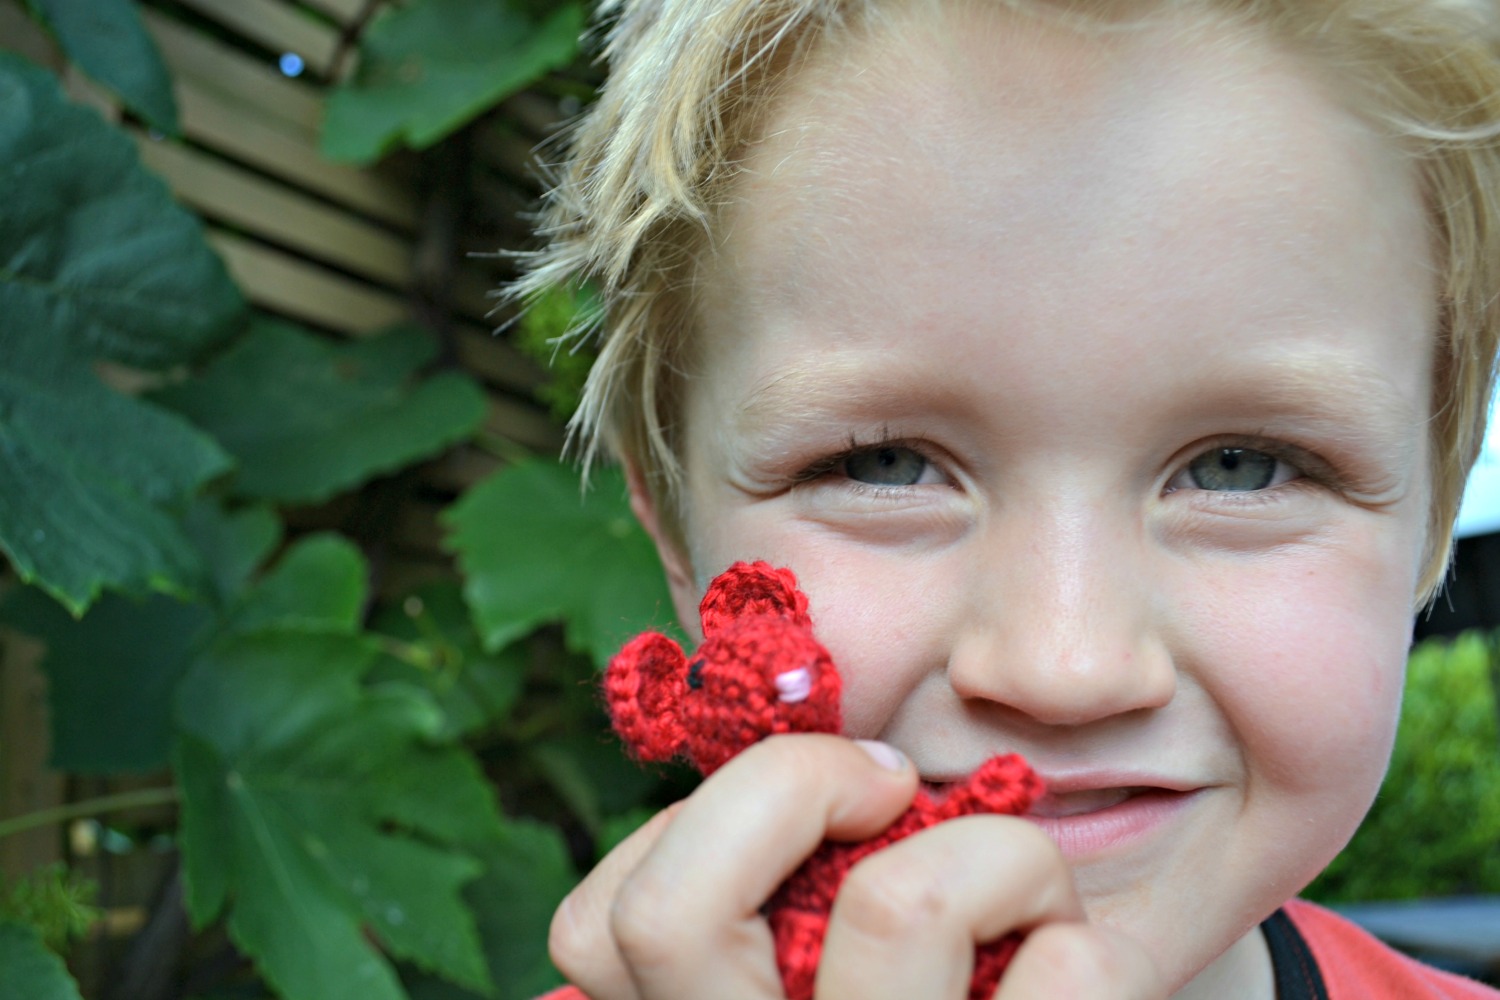 or even adventuring…
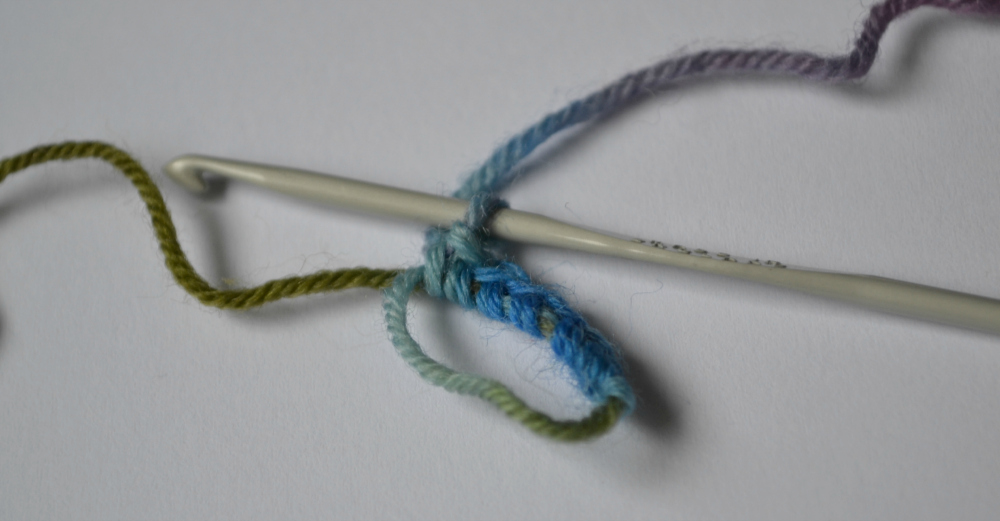
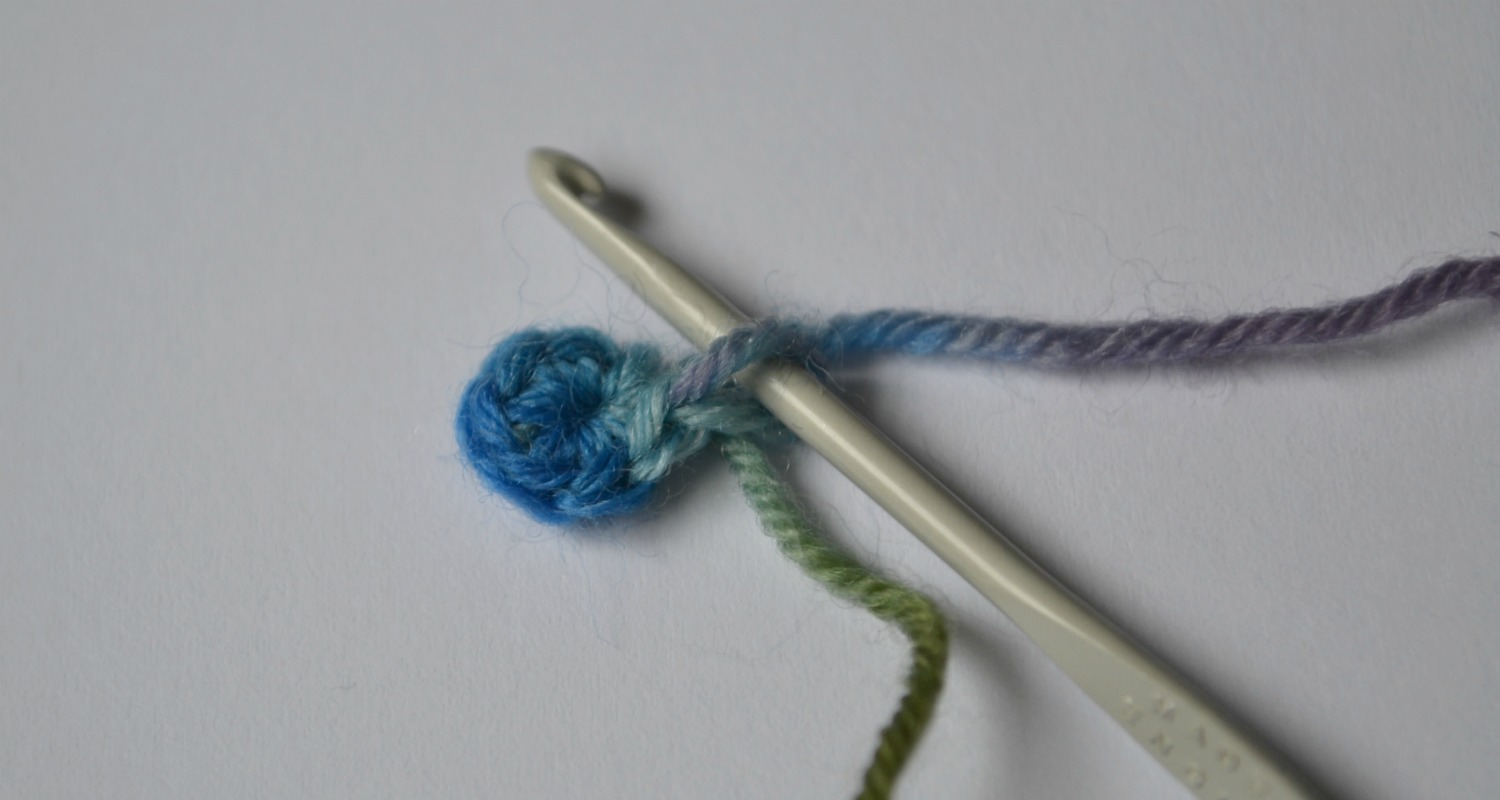
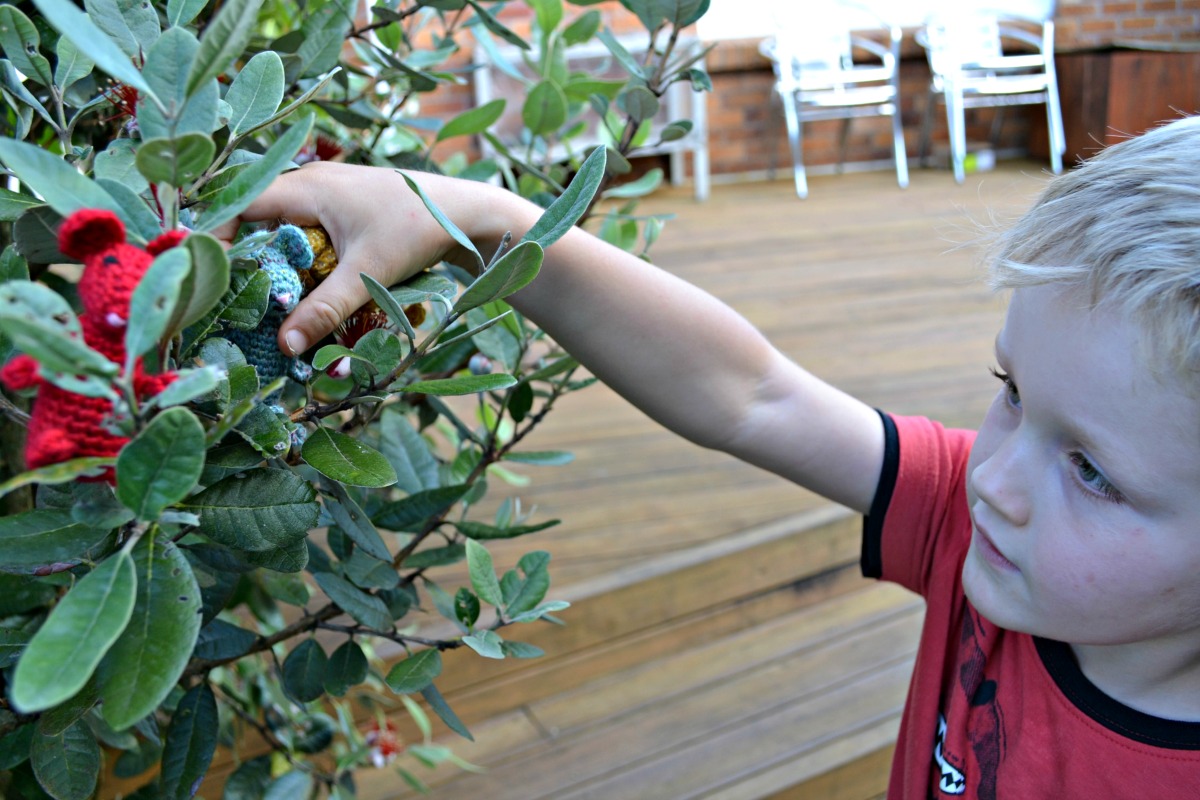 These cuties are made in four pieces- the body, with arms, legs and tail are crocheted all as one piece. Head and ears are crocheted separately and then sewn together. A clever little stitch called a 3 dc pop (or popcorn stitch) is used for hands and feet. It goes like this: Work 3 dc into third ch from hook, take hook out leaving loop, put hook through 1st dc & pull loop through. Hopefully the photos below will help this make sense!
Other stitches/abbreviations (all US crochet terms):
- ss = slip stitch
- sc = single crochet
- dc = double crochet
- st = stitch
- ch = chain
- Sc2tog = single crochet two together (decrease)
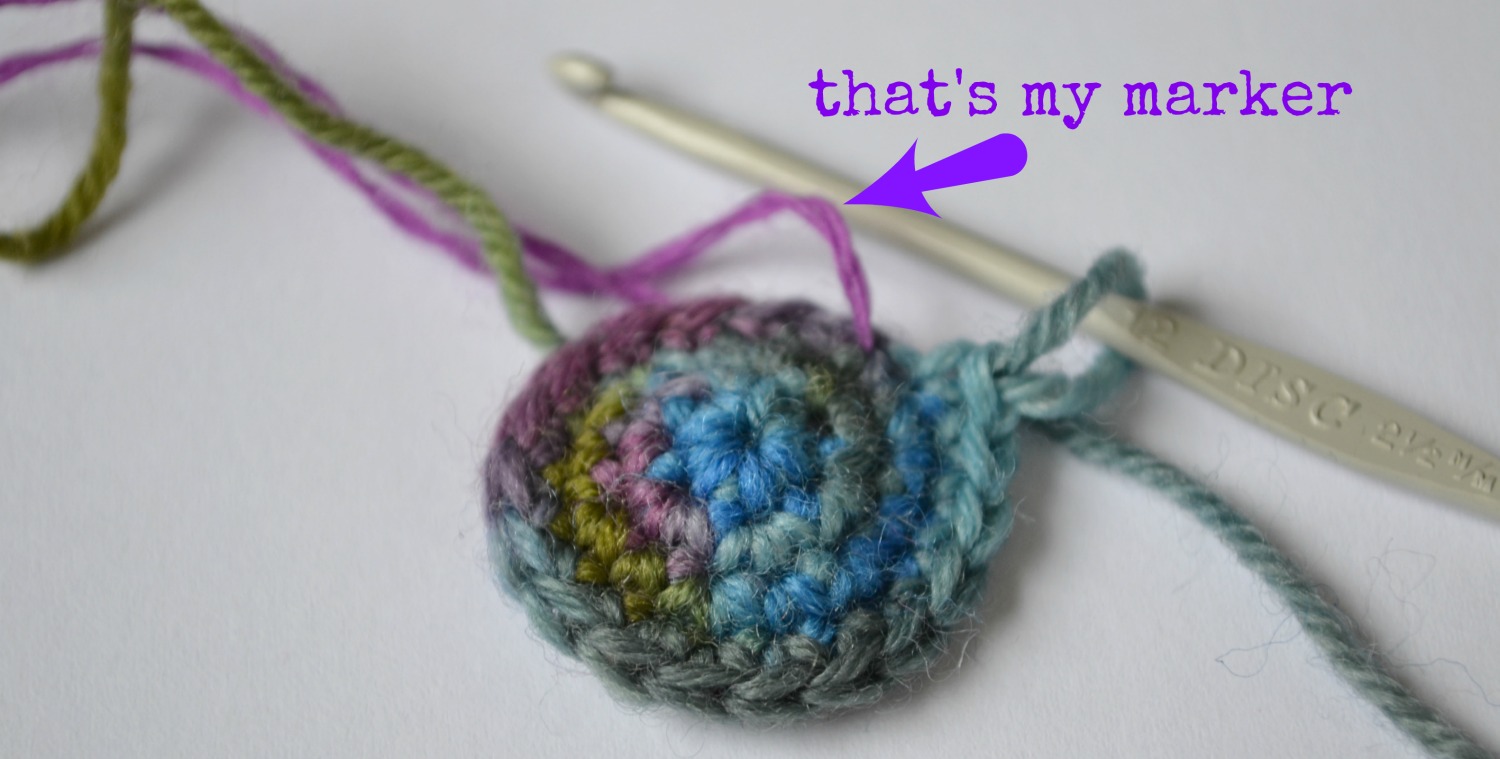
One other note, please use a marker to mark your rounds and keep track of where you are up to. And count your stitches at the end of each round. If you don’t, the arms and legs are less likely to match up.
I know some of you are going to go ahead and not use a marker. If you lose your place or end up a stitch or two out you can always eyeball it – just remember to make sure your legs are in the same stitch on the round as your arms (so they line up)!Lets begin….
First up we are going to make the body:
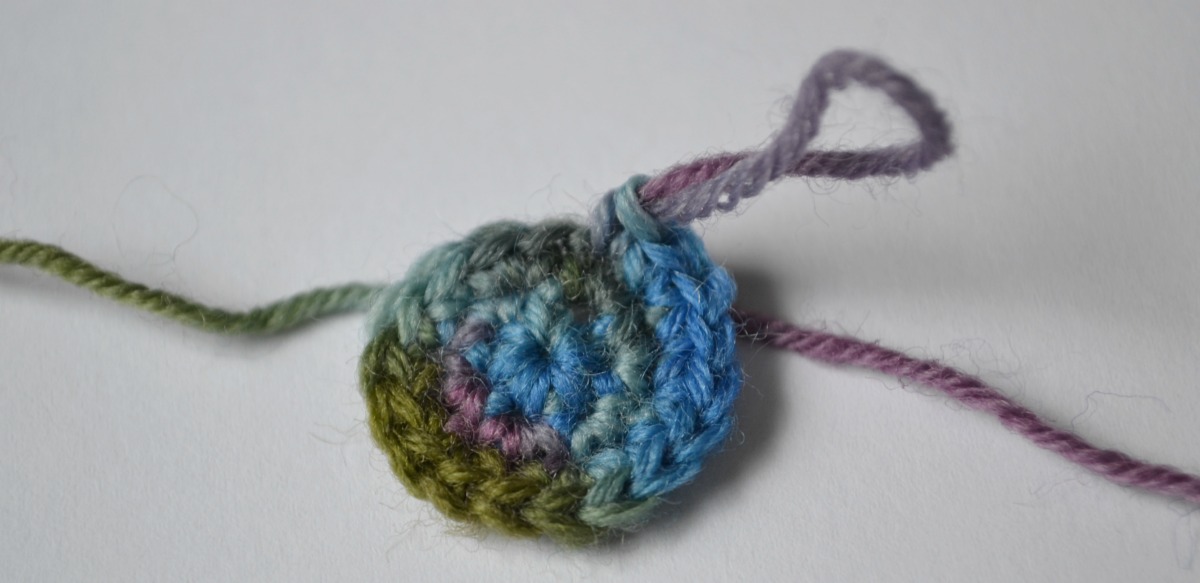
Round 1: Make a magic circle ch 1 and work 6 sc;
 Pull tight – 6 st.
 Round 2: 2 sc in each st around – 12 st.
 Round 3: [2 sc in next st, sc in next st] repeat around – 18 st.
 Round 4: Sc in each st around – 18 st.
 Round 5: Sc in next 6 st, [arm: ss into next st, ch 6,
 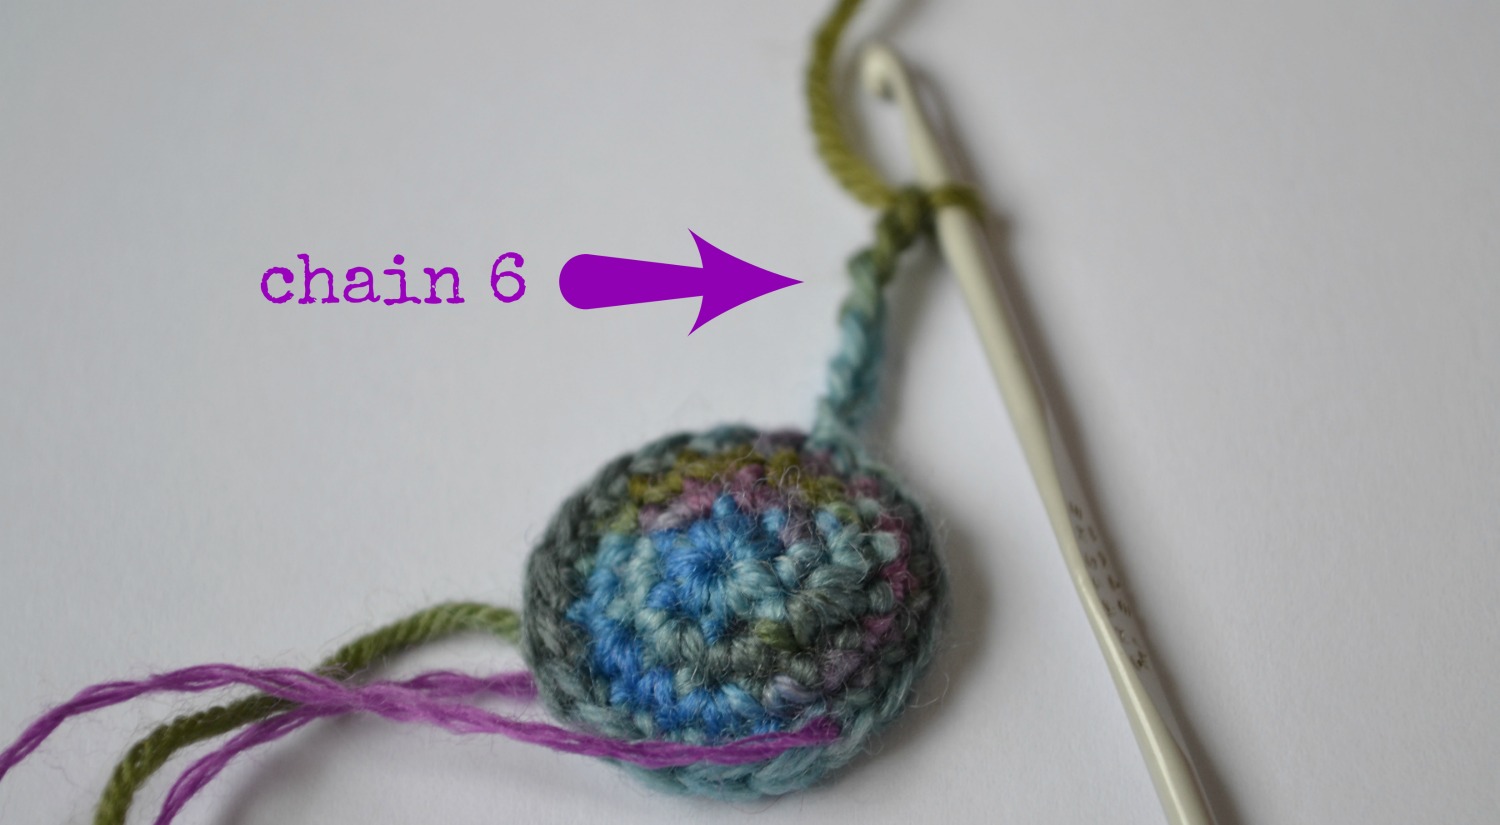 …3dc pop into 3rd ch from hook,
  …ss into next 3 ch, ss back into original st],
 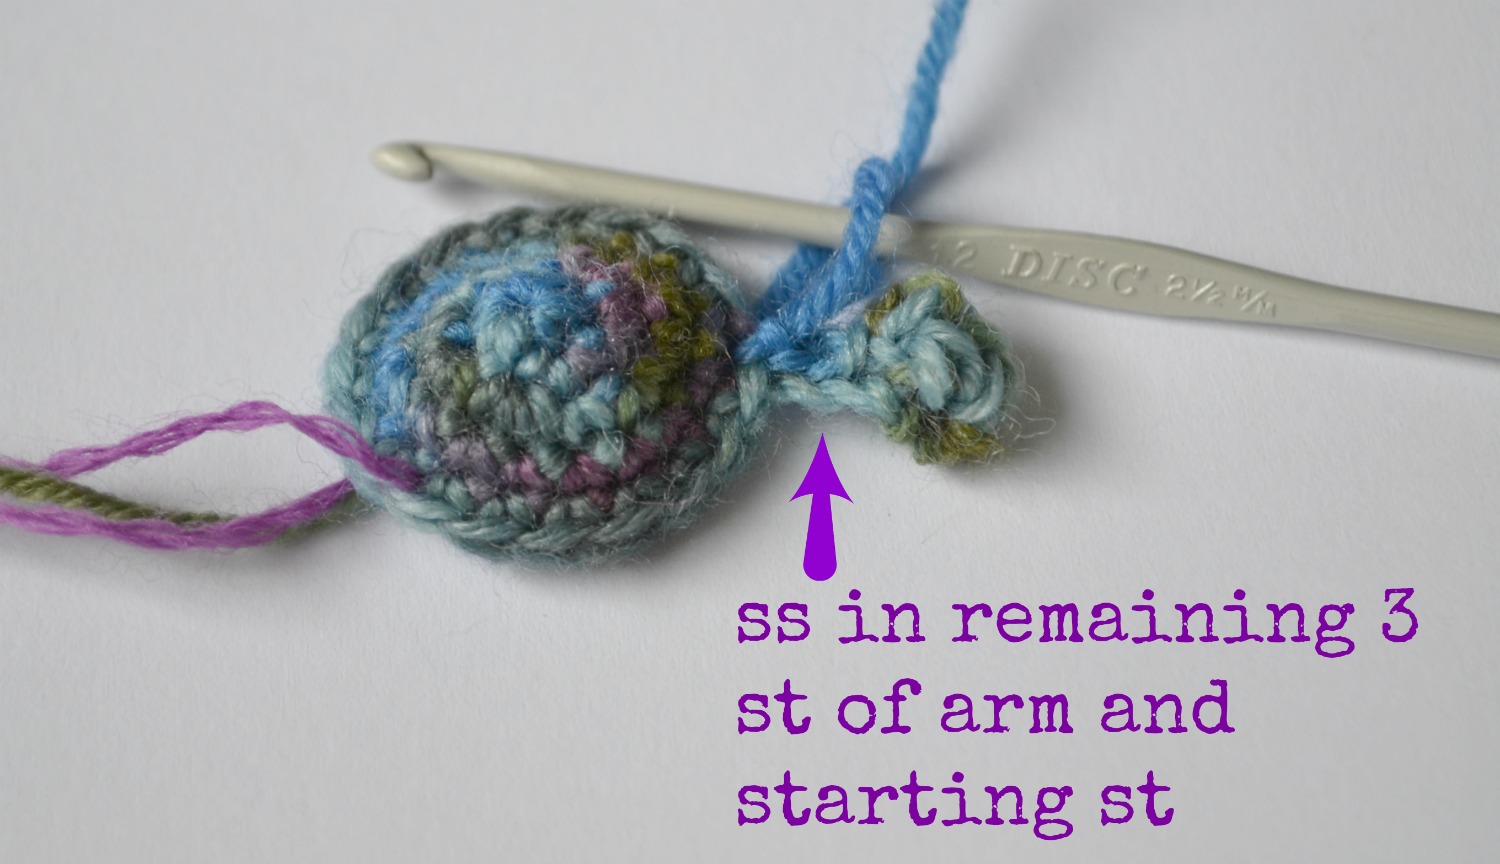 …sc in next 6 st, [arm], sc in next 4 st – 18 st.
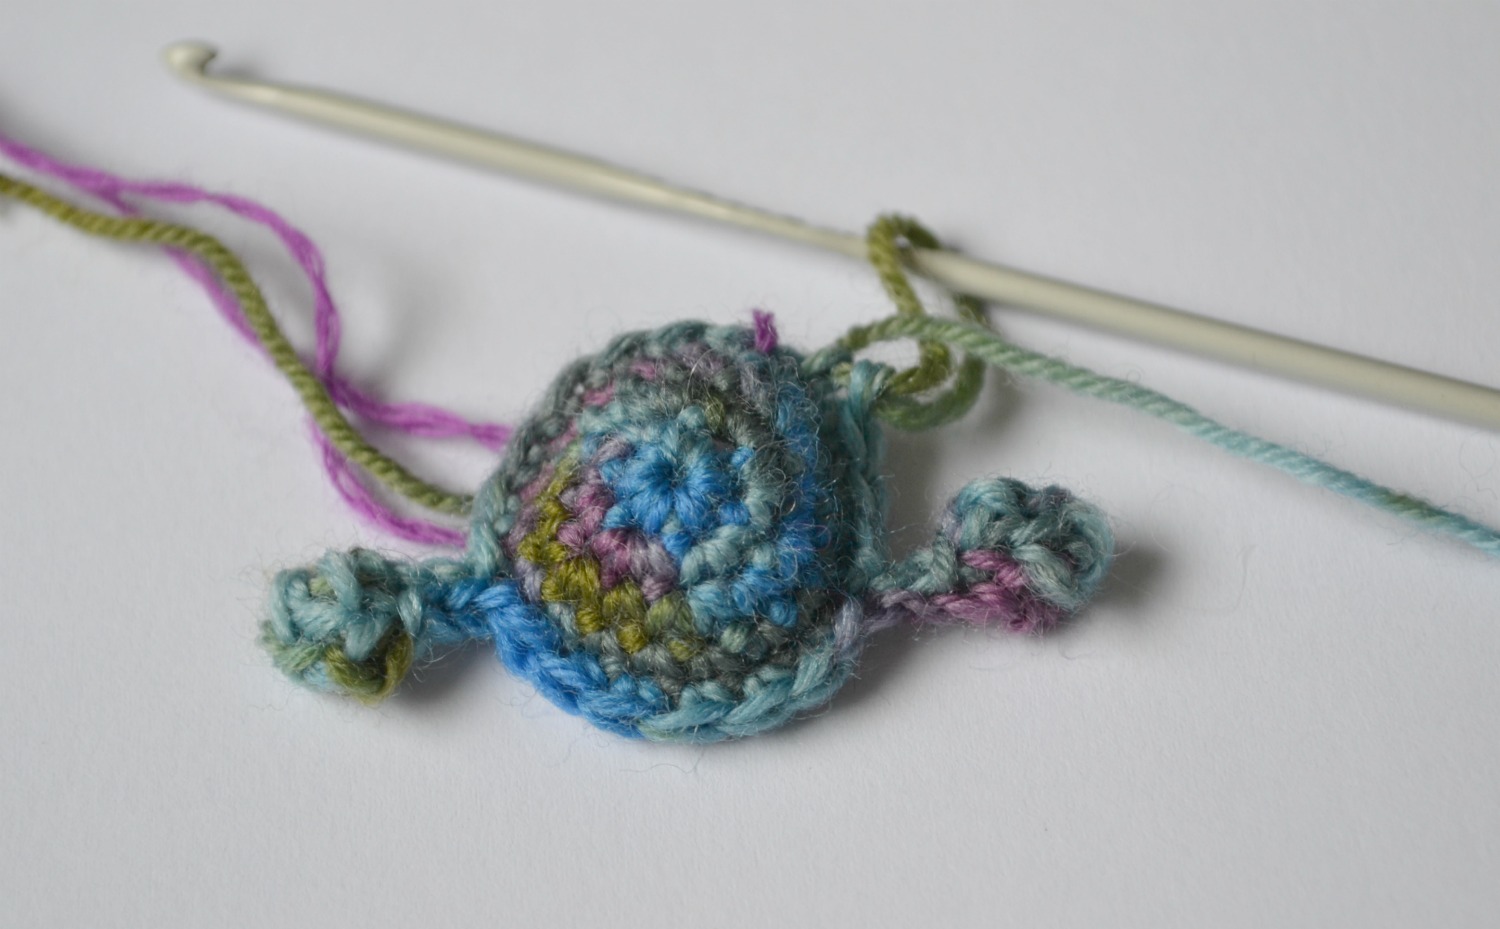 Round 6 – 11: Sc in each st around – 18 st.
 Round 12: Sc in next 8 st. [leg: ss into next st, ch 8,
 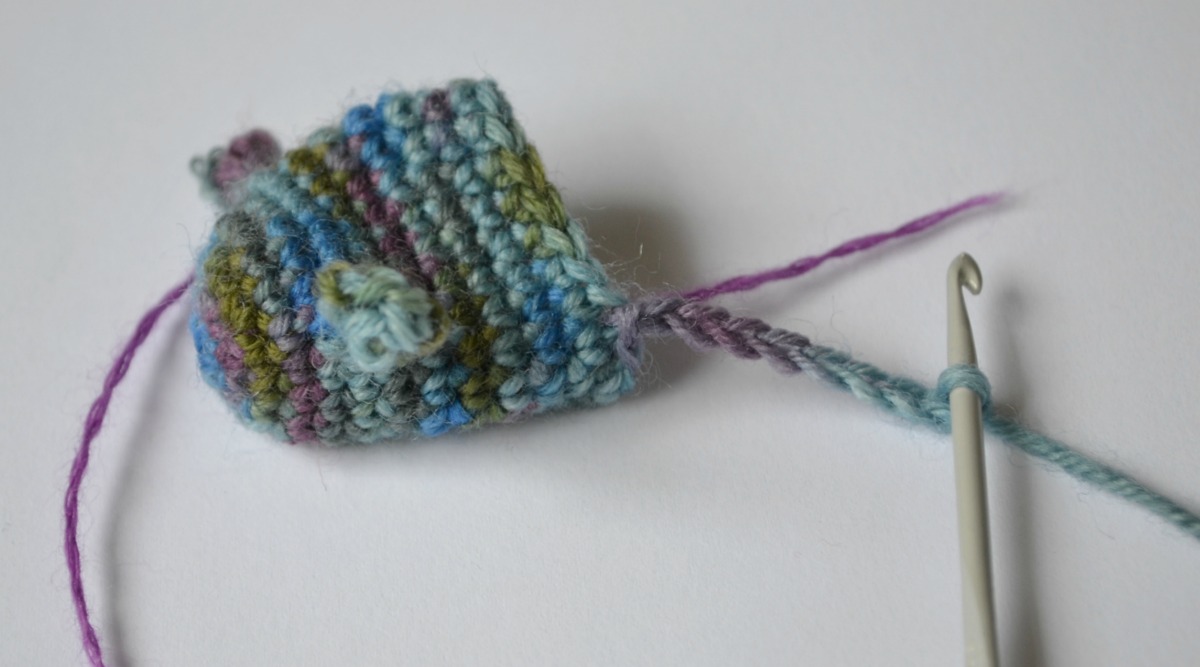 3dc pop into 3rd ch from hook, ss into next 5, ss back into original st],
 sc in next 6 st, [leg], sc in next 2 st (18)
 Round 13: Sc2tog, sc in next st, ss into next st, [tail: ch 22, ss into second ch from hook and each st, back into original st]
 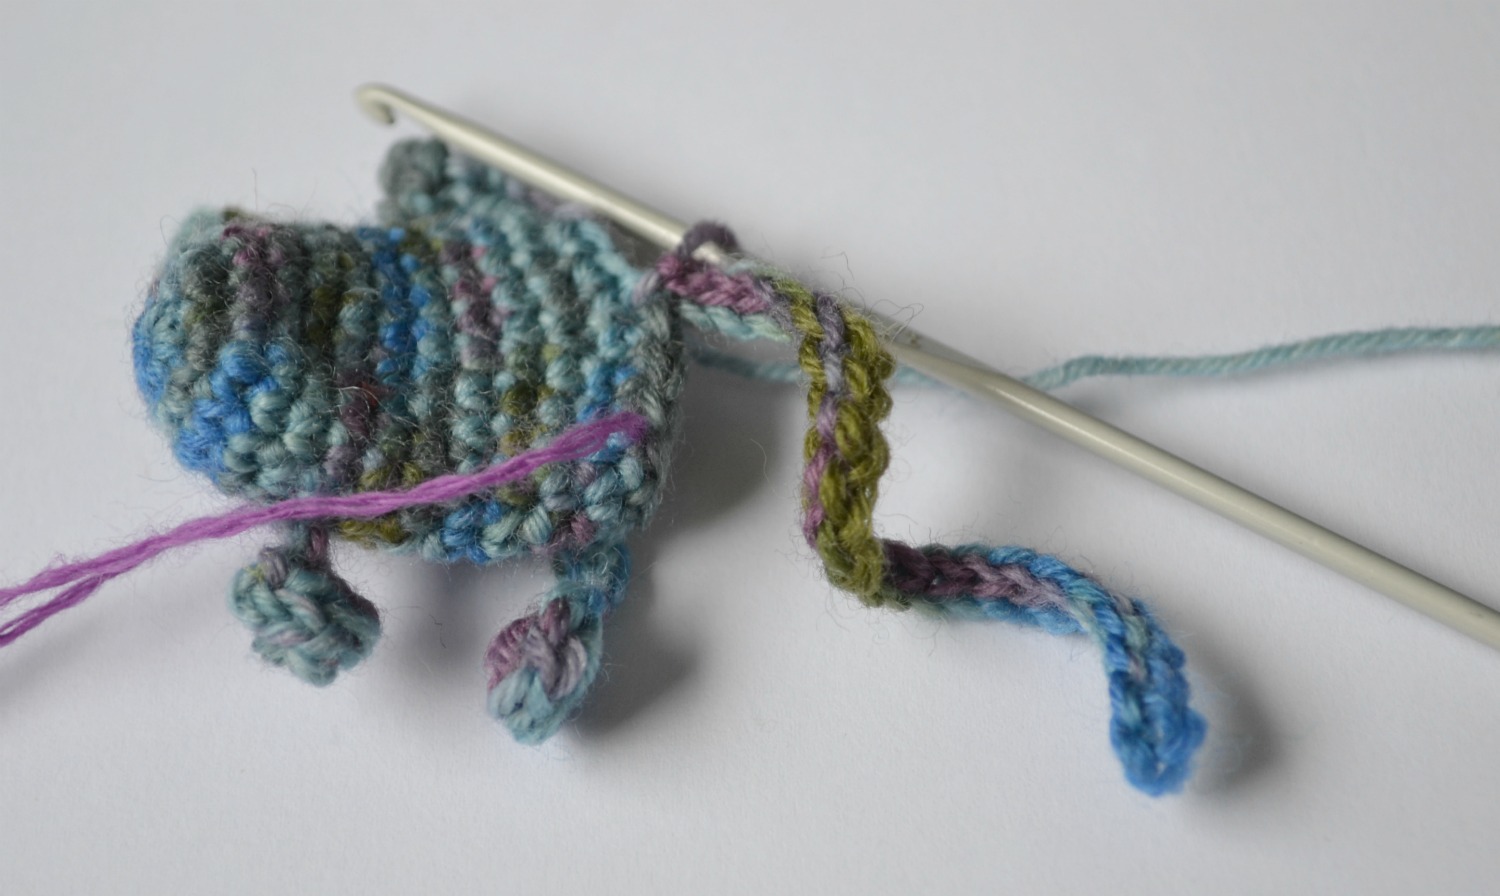 sc2tog, sc in next st, sc2tog, sc in next st, sc2tog, sc in next st, sc2tog (12)
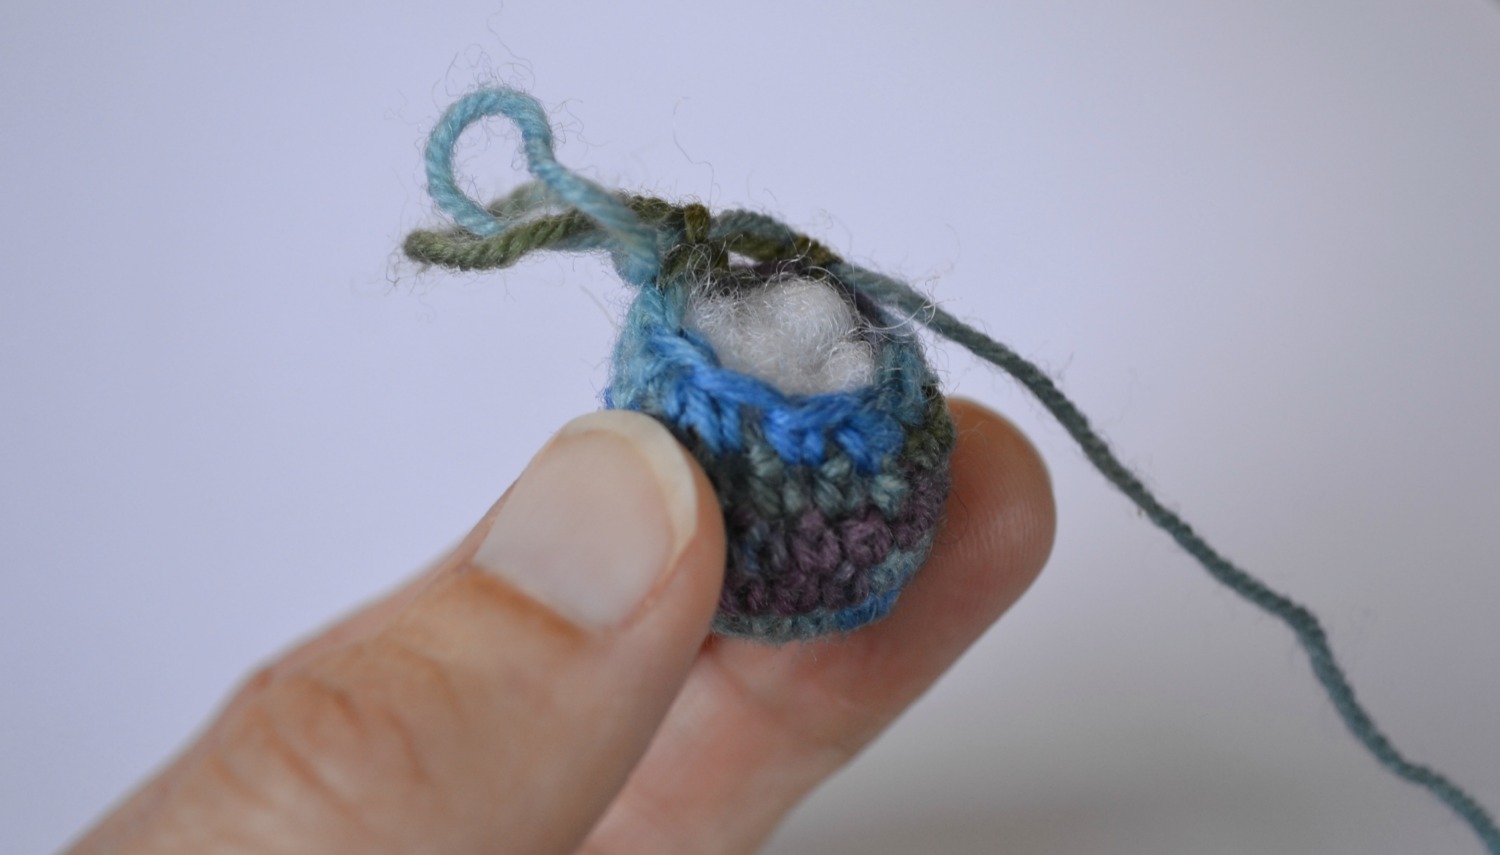
 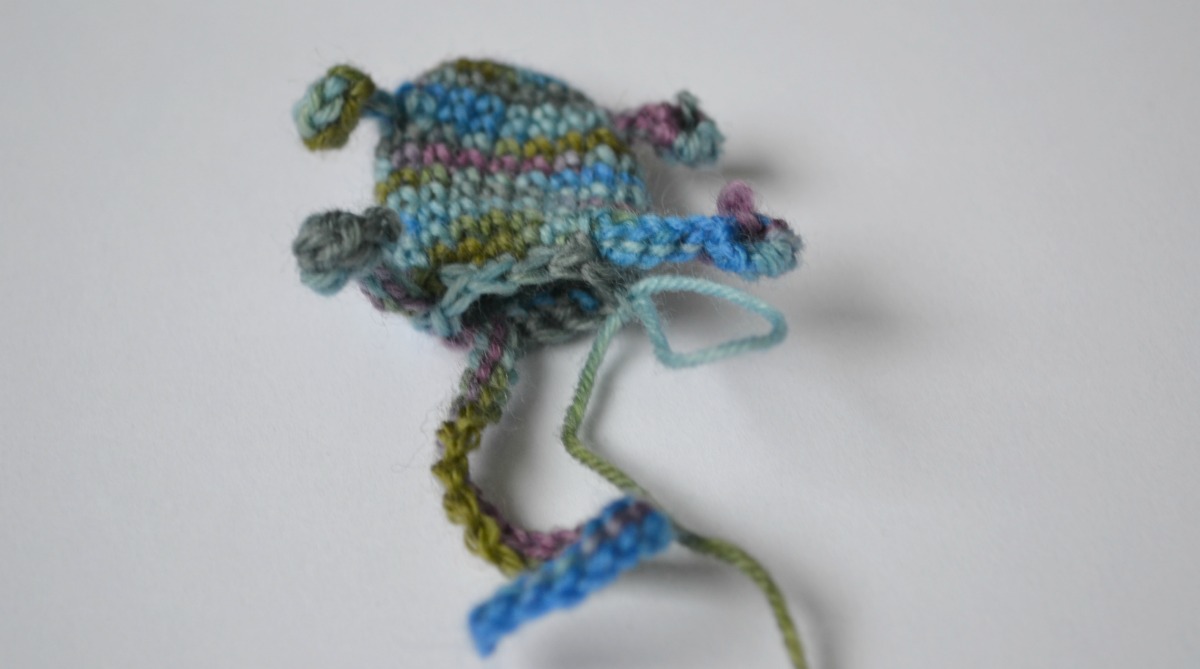 At this point you are going to stuff your wee mousie…
  Round 14: Once you have stuffed it, sc 2tog until hole is closed. Fasten off leaving long end, sew in ends and securely close hole.
Head:
Round 1: Make a magic circle ch 1 and work 6 sc into mc – 6 st.
Round 2: 2 sc in each st around – 12 st.
Round 3: [2 sc in next st, sc in next st] repeat around – 18 st.
Round 4-5: Sc in each st around – 18 st.
Round 6: Sc2tog, sc in next 2x 4, Scin last 2 – 14 st.
Round 7: Sc2tog, sc in next st x4, Sc2tog – 9st. Stuff as much as possible.
 Round 8: Sc2tog, sc in next st x4, ss into next st and FO leaving a long end.
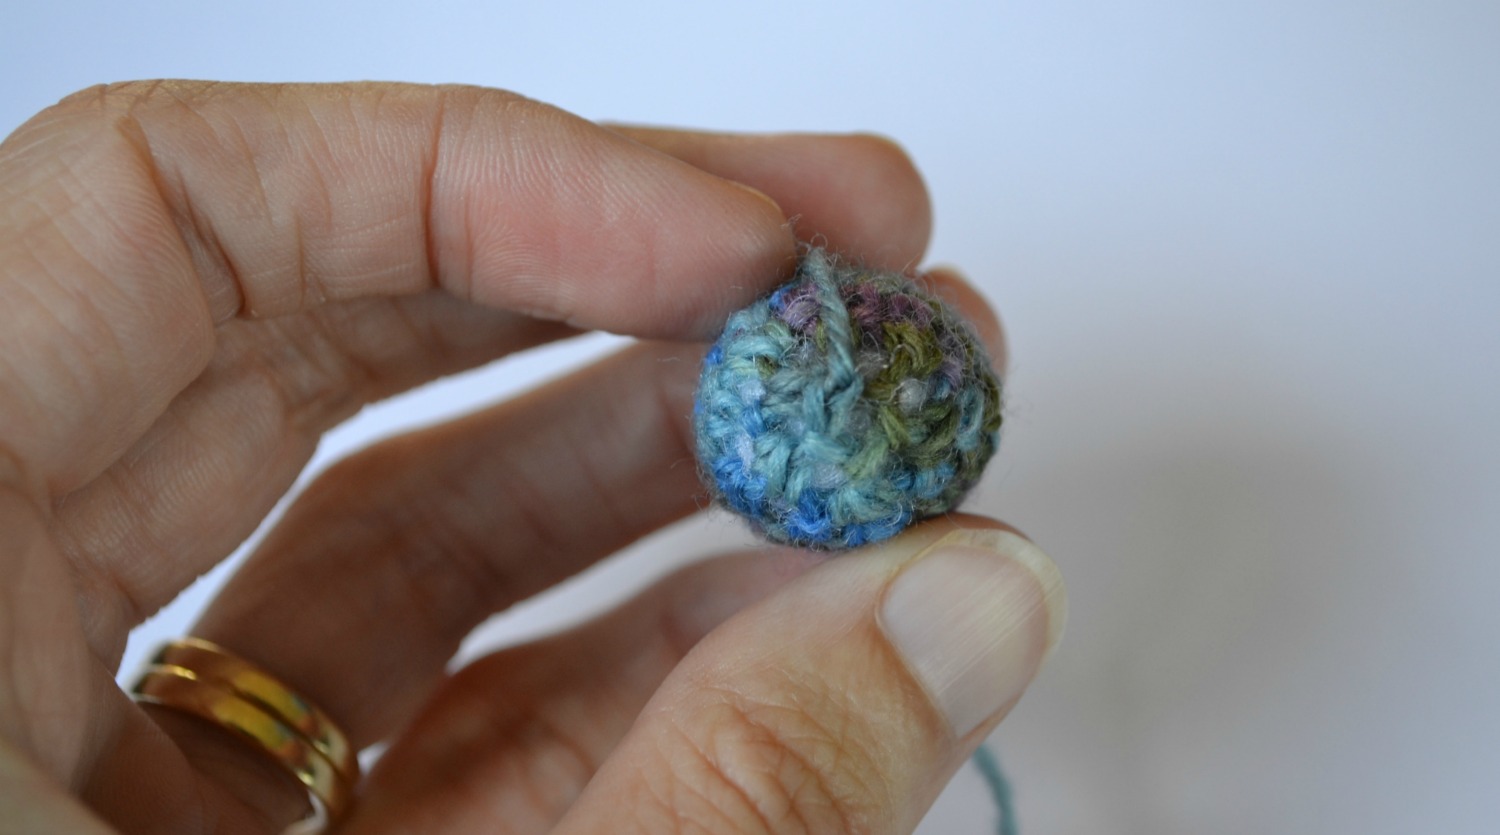 Sew head onto body…
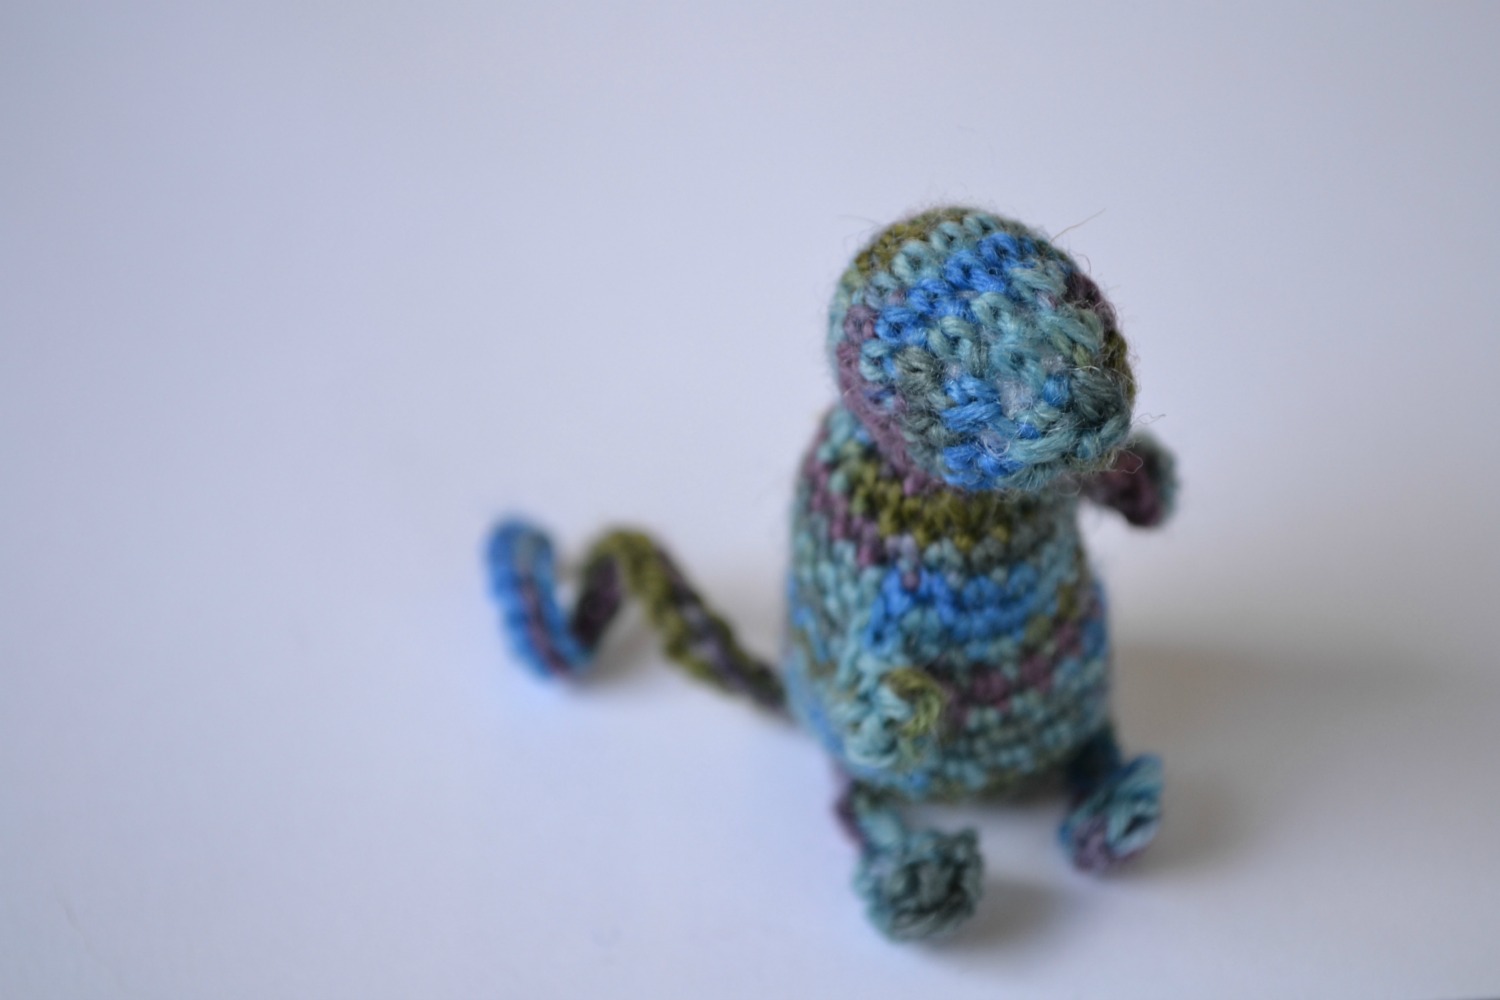
Ears:
Round 1: Magic circle, ch1 and 8 sc in circle. Pull tight, do not join. 2sc in each st around, ss into next st. Fasten off and leave long end… 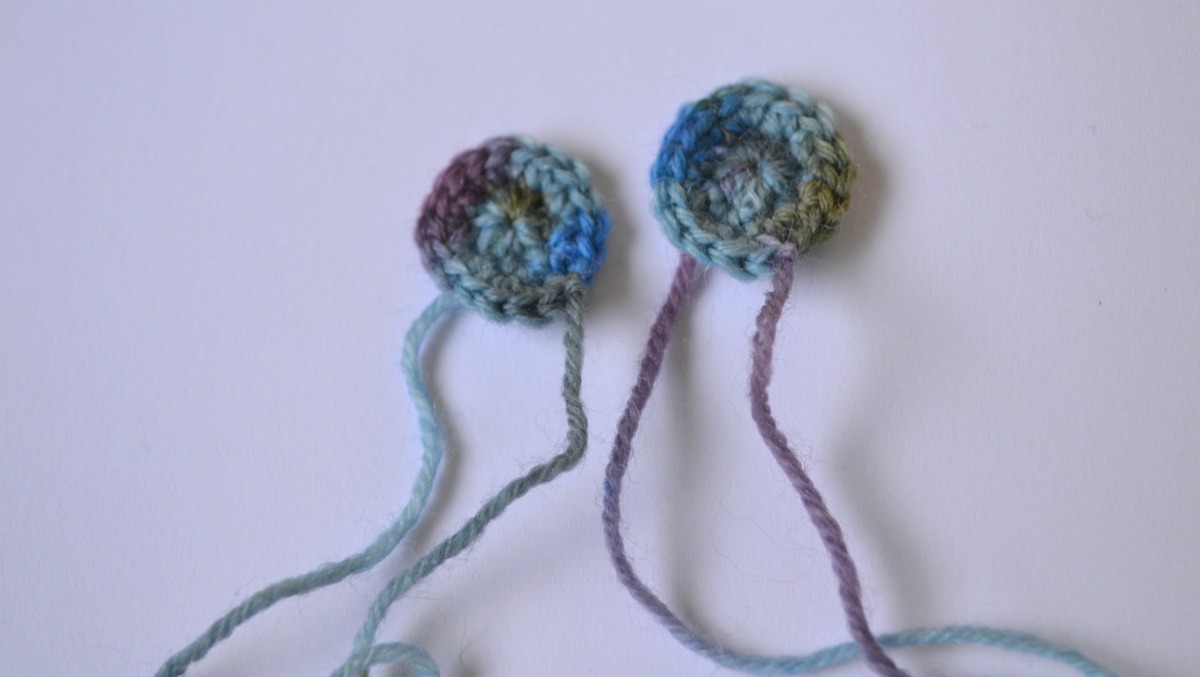 Sew in ends, then sew ears to head.
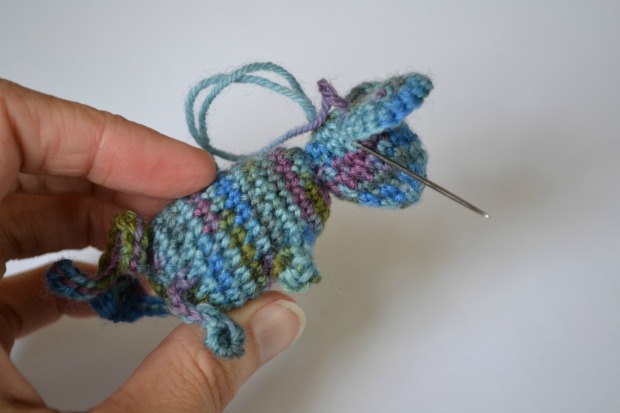 Sew face in place… no real instructions here, just use your imagination. I like mousies with a pink nose and black 8ply yarn for the eyes and a tiny mouth. I tried a french knot for eyes but actually just like eyes which are a tiny stitch or two in the right spot. The face gives each one an individual personality 🙂
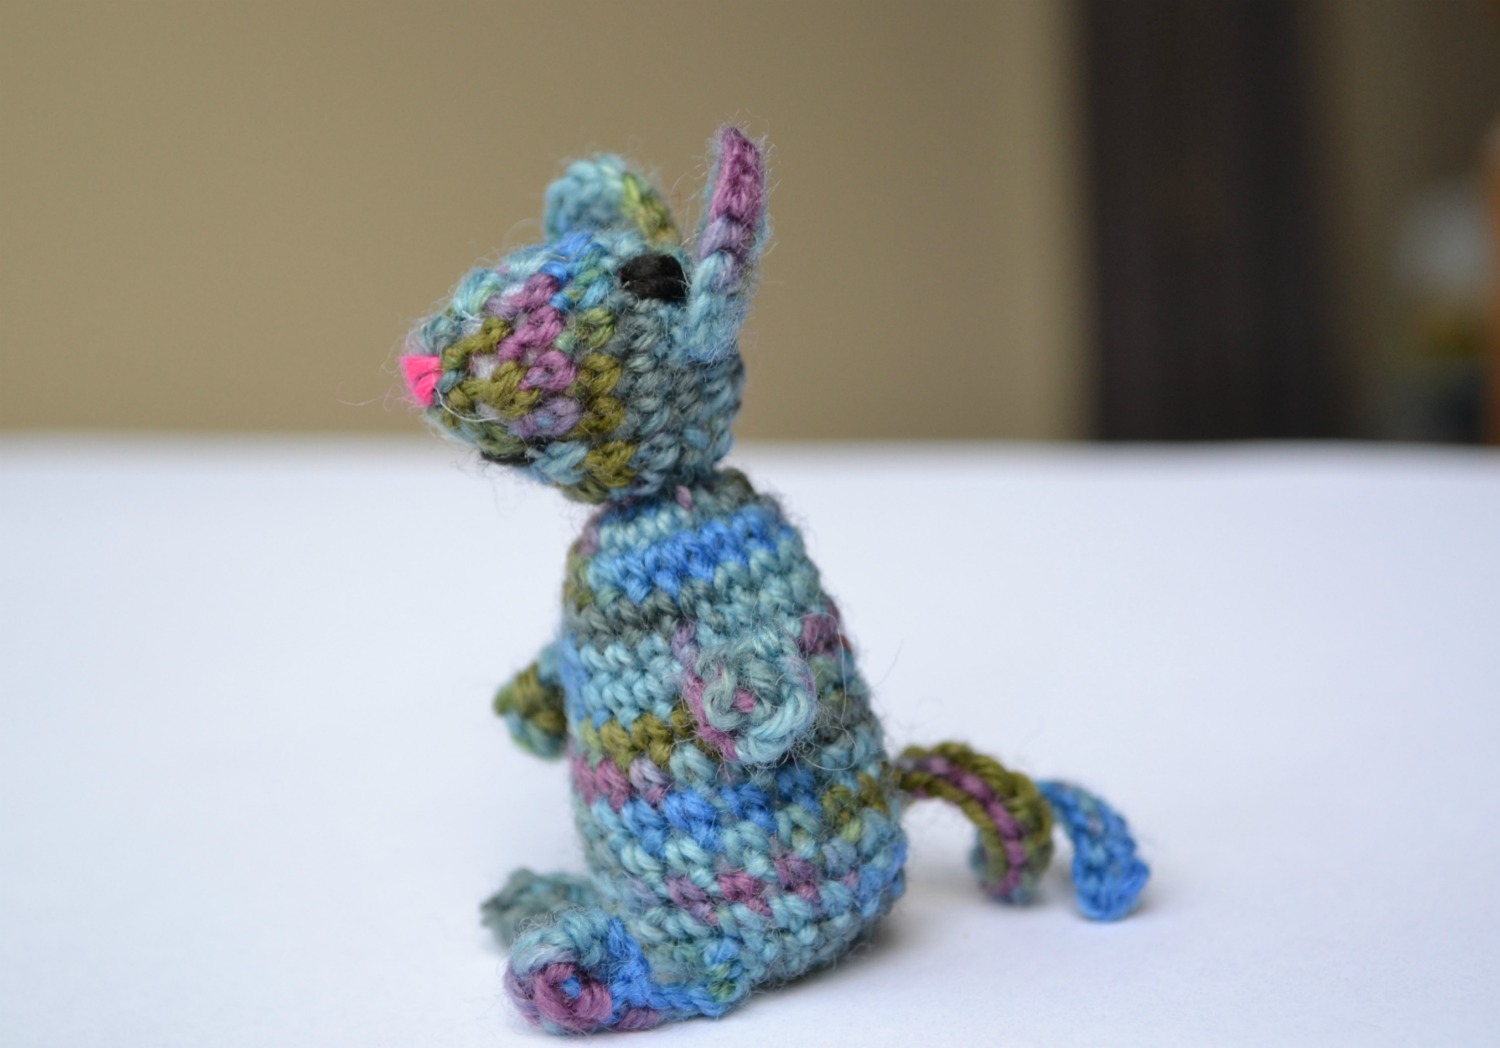
 Enjoy your new wee friend!
 But be careful… they’re addictive and before you know it they multiply… like… well… mice!
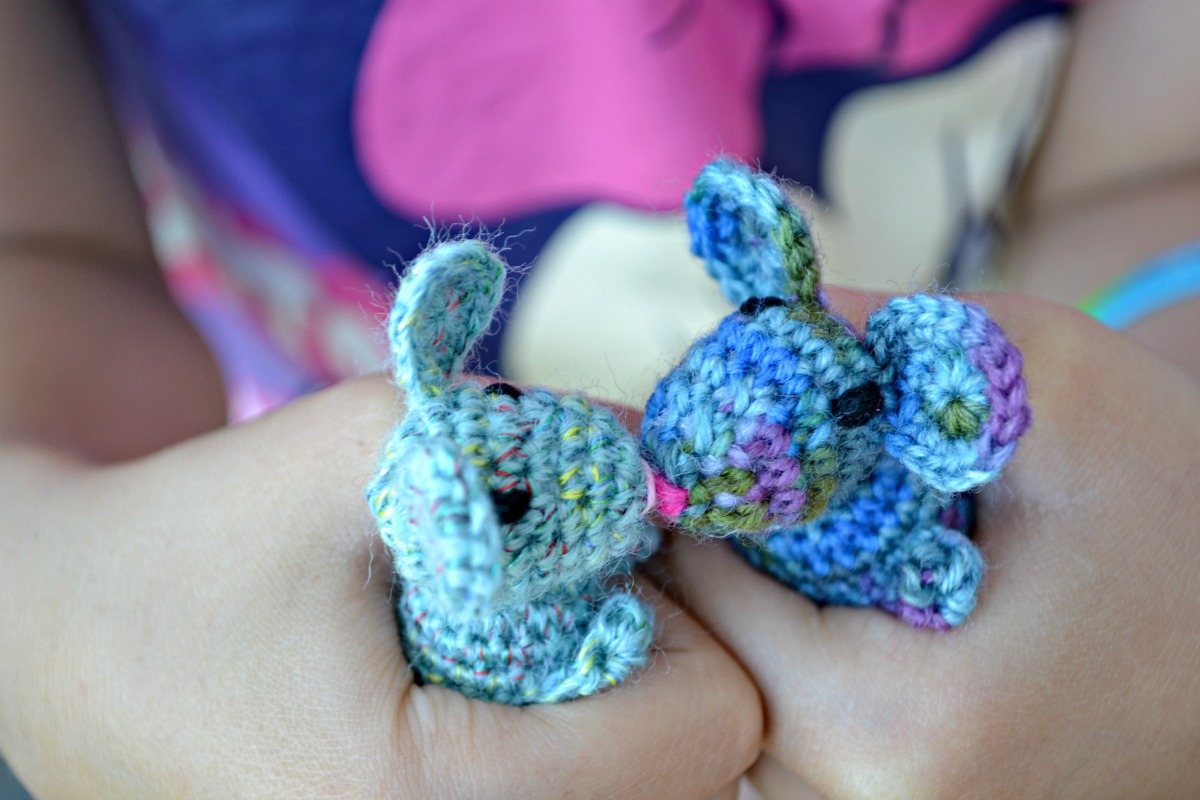 I hope you enjoy making these mousies as much as I do! If you do give them a try, Id love to see how they turn out so send me a pic. If you notice any errors in the pattern, please let me know!
Edit to add: Find a Christmas hat and scarf for your mousie here.
And you can find out how to make a cute mouse bed, here.


 Here’s a quick tutorial so you can make some for a little person you know… or maybe even yourself! The owl – once again