As promised, a new friend for your bunnies! Here’s a cute easy chick for you to crochet: This chick is super easy, I promise you will be able to whip 1 or 3 up in no time at all – I know Easter is almost here… but these guys are a breeze to make!
If you would like to make some chicks in time for Easter you will need:
- Various scraps of yarn and a corresponding hook – I used 8ply and a 4mm hook.
- 2 x 9mm safety eyes (or beads or buttons)
- A needle to sew your creation together with.
1. The body- this is the SAME as the bunny – so for detailed round by round photos check out this tutorial.
 Round 1: Make a Magic Circle and chain 3, then crochet 13 DC into the circle and pull tight, join with a SS to complete the round (14 DC). I’ve had a few questions about the magic circle before, it’s my preferred way to start a round. You can find a video showing how it’s done here. If you prefer chain 4 and DC into the fourth chain from the hook (then your DCs) or chain four, join with a SS to form a ring and then chain 3 and 13 DC into the ring. All techniques work equally well, I think it just comes down to preference.
Round 2. Join yarn in space between two DCs, chain 3 and DC in between the same space. 2 DC between each stitch around, join with a SS to the top of chain 3 to complete the round. Fasten off.(14 2DC pairs).
Round 3. Join yarn in space between two pairs of DCs, chain 3 and 2 DC in same space. Make 3DCs in each space between two pairs of DCs around, join with a SS to the top of chain 3 to complete the round. Fasten off. (14 3DC pairs).
Round 4. You are now working in the top space between each stitch, not the space beside the stitch. Join your new colour through the top loop of the stitch only. Chain 2, 2DC into next stitch, 1 DC into next, 1 DC into next, 2DC into next stitch, 1 DC into next, 1 DC into next, 2DC into next stitch, 1 HDC into next, Chain 1, SC into each remaining stitch around. Complete round by joining with a SS into the Chain 2. Do not fasten off.
Round 5. Chain 1, SC into each stitch around. SS into chain 1.
Round 6. Chain 1, HDC in next 11 stitches, chain 1, SS into next stitch. Fasten off leaving a long end to sew your two bunny halves together. Repeat – you need a front and a back! 2. The beak:
Round 1: Magic circle (see notes above), CH 1 and 6 SC into the circle, do not join this or any round, continue working in a circle without joining. Use a stitch marker if necessary to mark your rounds (personally I just count the stitches) (6)
Round 2: *SC in the next stitch, 2 SC in the next stitch*, repeat between * and * around (9).
Round 3: *SC in the next 2 stitches, 2 SC in the next stitch*, repeat between * and * around (12).
Round 4: SC in each stitch around. Fasten off leaving a long tail. 3. The wings (make two!):
Round 1: Magic circle (see notes above), CH 1 and 6 SC into the circle, do not join this or any round, continue working in a circle without joining. Use a stitch marker if necessary tp mark your rounds (personally I just count the stitches) (6)
Round 2: SC in the next stitch, 2 SC in the next stitch*, repeat between * and * around (9).
Round 3:*SC in the next 2 stitches, 2 SC in the next stitch*, repeat between * and * around (12). Change colour.
Round 4:*SC in the next 3 stitches, 2 SC in the next stitch*, repeat between * and * around (15).
Round 5:SC in each stitch around (15). Change colour.
Round 6:SC in each stitch around (15).
Round 7:SC in each stitch around (15). Change colour.
Round 8: *SC in the next 3 stitches, 2 SC together (decrease) in the next stitch*, repeat between * and * around (12).
Round 9: SC in each stitch around (12).
Round 10: Sc in each stitch around. Fasten off leaving a long tail. That’s all your chick parts assembled…. now to put them all together.
 Position eyes and secure, and sew on beak:
  With wrong sides together sew front to back:
  Leave a small gap, stuff, then finish sewing together. Looking pretty cute!
  Sew wings in place:
  Almost done… just a little tuft on the top! Sew through 2 strands of each color:
  Tie in a knot and snip to desired length… you’re all finished!
 Happy Easter everyone! Janette xox


 And exactly one week later with his new glow in the dark(!) cast. It hasn’t slowed him down much!
 It’s always fun to visit the zoo…
 Especially when we saw these guys there:
 The first autumn leaves are falling – which are beautiful, but make me a little bit sad all the same…
 The garden has been plentiful – especially in the grape department.
 Maybe too plentiful, because the wasps are feasting if we are not fast enough!
  Im loving this new clip….
 And planting cyclamens like they are going out of fashion…
 Did you see the lunar eclipse? Here’s what it looked like from our place, the small dot out to the side is Mars! The children were very excited 🙂
 We baked…
 and decorated Easter cookies, using this recipe:
 And eating lots of chocolate of course! Here’s what Easter Bunny brought this year, we have a tradition that he always brings a book, but this year he also (very wisely) brought a new toothbrush and tooth paste – what a smart bunny!
  They just keep on smiling…
  What’s happening in your part of the world?


 And although it seems like they were born only yesterday…
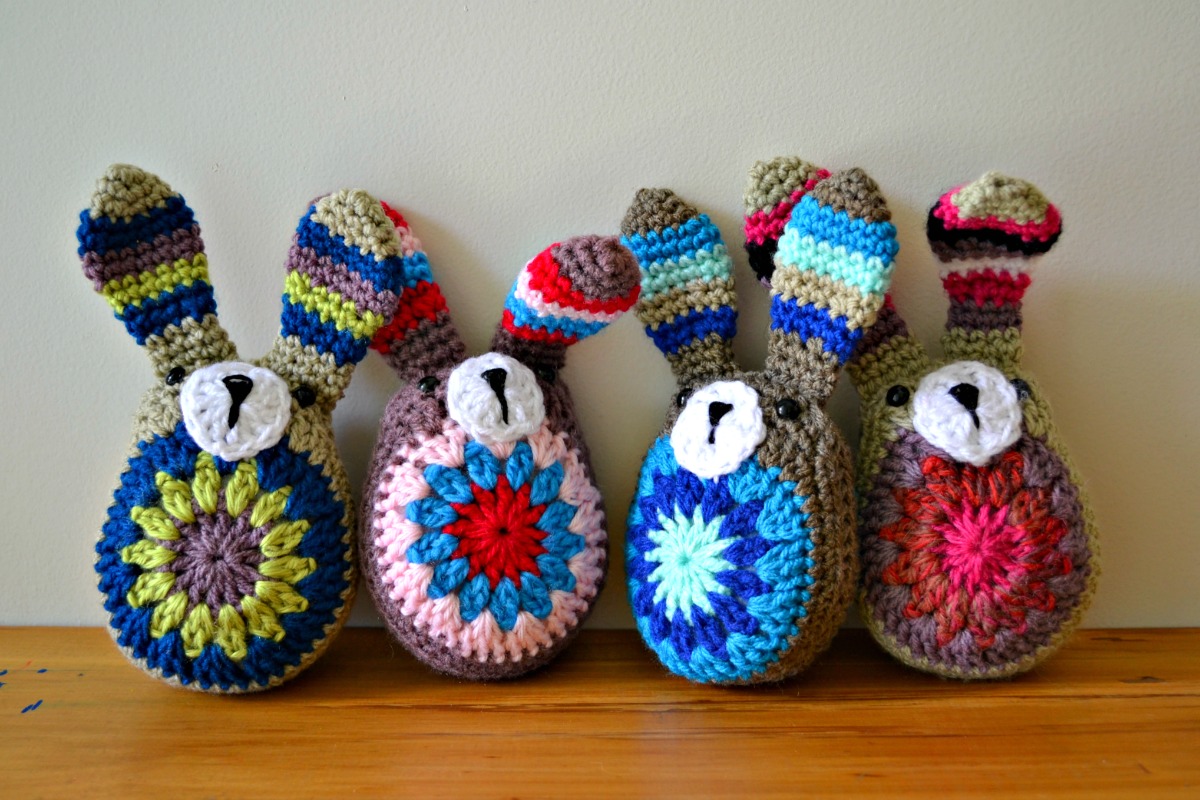

 Not to mention lots of extra special cuddles…


