
A weekend away; pizza nights; knitting socks and hats; pottery; painting in my sketchbook and winter growing – mushrooms and micro greens…


 Even though it’s dark and more than a little cold, I’ve been busy! What about you, what are you up to? Enjoy your weekend, Ill be busy… making! J xoxo
Category: Playdough
An autumn walk
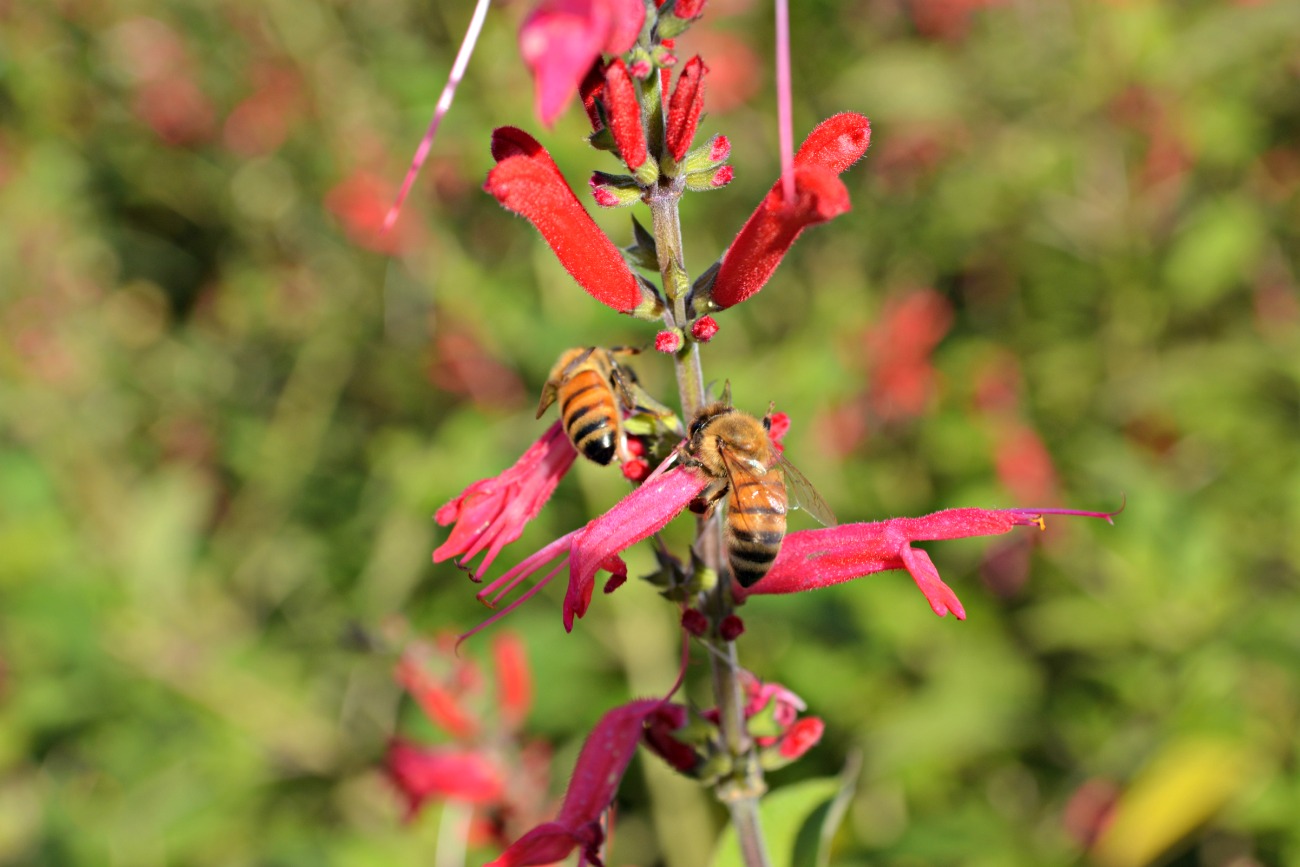
For those of you that have been following for a while you will know that we live in Hamilton, New Zealand, very close to some spectacular gardens, maybe even best gardens in the world! This afternoon we took a family walk through them, and in the fading afternoon light I took these photos – which I thought I’d share with you…


Do children always have such boundless energy?


I love this photo, but for the leaves, the fish could be swimming in the sky!


Maybe that should be verdant autumn…
Lots of fun with looooog shadows…

 Autumn really is a lovely time of year – the nights are cool but the days are bright and warm. The leaves are changing colour, but there is still so much in bloom. What’s your favourite season? What’s the weather like where you are? J xoxox
It’s beginning to look a lot like Christmas!
Despite the weather being almost unbearably hot….
 It is indeed beginning to look a lot like Christmas!
 From the Christmassy centerpiece on our table…
 To the Christmas crafting that’s been going on. There are obviously going to be a lot of reindeer at the inn this year. Here’s hoping they don’t eat too much?
 Carter’s ended up with lightning bolts on both sides (he’ll need these for extra speed apparently).
 The tree has been up for a couple of weeks, and the remainder of the decorations are now up too. These crochet decorations I made
 last two(!) years ago needed a few bead replacements, and are now good as new… I’ve also started making a starry crochet garland, I’ll share the star pattern as soon as Ive made a few more. I’m loving my smaller hook and crochet yarns now I’ve become accustomed to using them.
 And if you are looking for the perfect little Christmas muffin, give these a try. Sweet and cinnamony… just the thing for Christmas, wherever you may be!
Christmas Muffins
- 1 cup plain white flour
- 1/2 cup whole wheat flour
- 1/3 cup brown sugar
- 1 teaspoon baking powder
- 1 teaspoon cinnamon
- 1/2 teaspoon sea salt
- 1 egg
- 1/4 cup melted butter
- 1/2 cup sour cream
- 1/2 cup milk
Topping:
- 2 tablespoons brown sugar
- 1 teaspoon cinnamon
In a whiz mix egg, butter, sour cream, and milk – until well combined. Add in flour, sugar, baking powder, cinnamon, and salt, and whiz just a little until the mixture is all combined (dont over process or you’ll end up with tough muffins!). Scoop batter into 10-12 paper lined muffin tins. Stir together topping ingredients and sprinkle about a 1/2 – 1 teaspoon of the mixture onto each muffin. Bake at 200C for 15-20 minutes or until muffins are golden brown.
Make a cup of your favourite warm beverage, put your feet up and enjoy. How are your Christmas preparations coming along? Is everything ready? Jxo
Mini Crochet Mousies
Finally a cute crochet mouse… I’m so happy with how these mice have turned out! The first few attempts were not quite cute enough, or quite mousy enough… but, squeak-squeak, these ones tick all the right boxes!
 Best of all, they come Maia approved.
 I can’t wait to share them with you, so I’ll be back with a crochet mouse tutorial soon. Have a lovely weekend! Janette xx
Candy cane play dough
 Each year we make a small Christmas gift for Maia and Carter’s friends and cousins. I like this to be a creative activity and something that they can help make themselves. This year we decided to make candy cane play dough, an idea which I spotted at the Artful Parent. What a great resource this is, its fast becoming one of my favourite places on the internet!
We made two big batches of play dough, one red and one green. Maia helped with the weighing/measuring, some mixing and then the all essential kneading at the end. We added some glitter for a bit of Christmas sparkle and a few drops of peppermint oil to give the play dough an authentic candy cane smell… Yum!
When we were ready to put the gifts together Maia weighed and divided each batch into 10 lots (weighing each individual piece to get them all about the same size), which was a really good activity for her – she picked it up very quickly.
 Together we rolled each piece into a long snake, then twirled them together popped them in a jar with a piece of festive fabric over the lid and some ribbon to make the gifts look nice. All in all a great, easy little gift which hopefully will encourage lots of fun creative play when opened!
 Jx
Jx
Paper whites and play dough
The dreaded lurgy has run rampant in our house this week, we are all feeling under the weather so there was a lot of time spent indoors… which translates to bored grumpy children, and the need to find suitably interesting (and not too taxing for Mum) activities to keep them entertained. There are two activities I wanted to share with you today. Both are so easy, and are things I remember my Mum doing with my brothers and I when I we were children; dyeing paper whites and making play dough.
Dyeing paper whites is a spring activity my children love… getting flowers to change colour using food colouring. Its a simple project, easy enough for a 2 and 4 year old to manage (so long as you dont mind food colouring everywhere that is!). Basically you can use any white flower, but our favourite is the early spring paper white because it gives such good results and fills the house with delicious smells.
Arrange your jars, and add a reasonable amount of food colouring. Basically you don’t want to scrimp here (it’s the one time you can encourage your kids to go wild with food colouring and not feel guilty because they aren’t eating it!!!). Carter was especially generous in applying the blue food colouring (read, a whole bottle of the stuff) to his jar. We used blue, green, pink, yellow and black.
 By the next morning the colour had come through nicely on most of the colours, Carter was especially proud of his one (the blue).
 After 24 hours the flowers became brightly coloured and looked amazing in the afternoon sun. This also makes a great science lesson for the kids- we talked about plants needing water to survive and the dye shows us how the water goes all through the plant. I admit their eyes glazed over by the time my explanation ran to osmosis… ok Mum, but can we play with more food colouring now please?

 The black one was the only flower which didn’t dye well, it came out a pale greeny colour, and the blue turned out especially well due to the high concentration of food colouring.
Onto my other food colouring related activity for this post is play dough.
Play dough is an awesome standby. Its incredibly inexpensive takes only a few minutes to make and keeps children of all ages entertained for hours (well maybe not hours all in one go, but in the following days and weeks certainly!).
My play dough recipe looks like this:
Mix 2 cups of flour, 1 cup of salt, 2 cups of water, 2 tablespoons of oil and 4 teaspoons of cream of tartar together in a large pot. Turn on the heat (med-high) and stir with a wooden spoon until it all globs together in a solid mass. This usually takes about 3 -5 minutes. Remove from the heat and keep beating it with your wooden spoon until it is smooth and solid- this might take a bit of muscle power.
Remove from the pot and put on a lightly floured surface. Split up (if you want more than one colour) and add a few drops of food colouring to each piece. Knead until it is coloured throughout, smooth and pliable. You will need to add more flour from time to time it it gets a bit tacky but after kneading it should feel smooth and well, lovely. There really is nothing nicer than playing with still warm play dough on a cold winter’s day!
 There are so many options for colours, my requests this week were pink and green (there was no blue left!), but in the past we have made black with silver glitter which looks cool, and pink and purple with glitter too. The play dough will keep for a good few weeks if you store it in an airtight container so it doesn’t dry out. If you don’t have any cream of tartar you can still make perfectly good play dough but its unlikely to keep as well (the c o t acts as a preservative), just keep it in an airtight container in the fridge.
 We have an assortment of cookie cutters and other tools which add to the fun, but they really aren’t necessary… there’s plenty of fun to be had with just play dough, little hands and lots of imagination. Have fun, lots of love, Janette x x x
