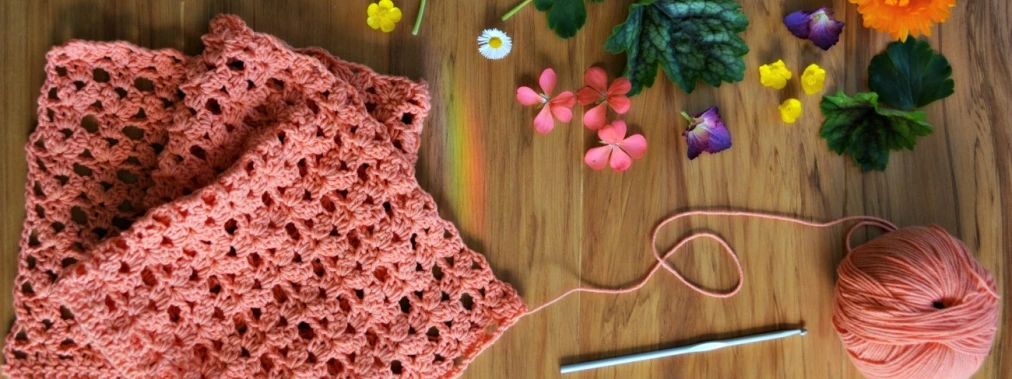

 If you’ve been reading for a while you will know I have a thing for crochet bags… or more to the point, crochet granny square bags.
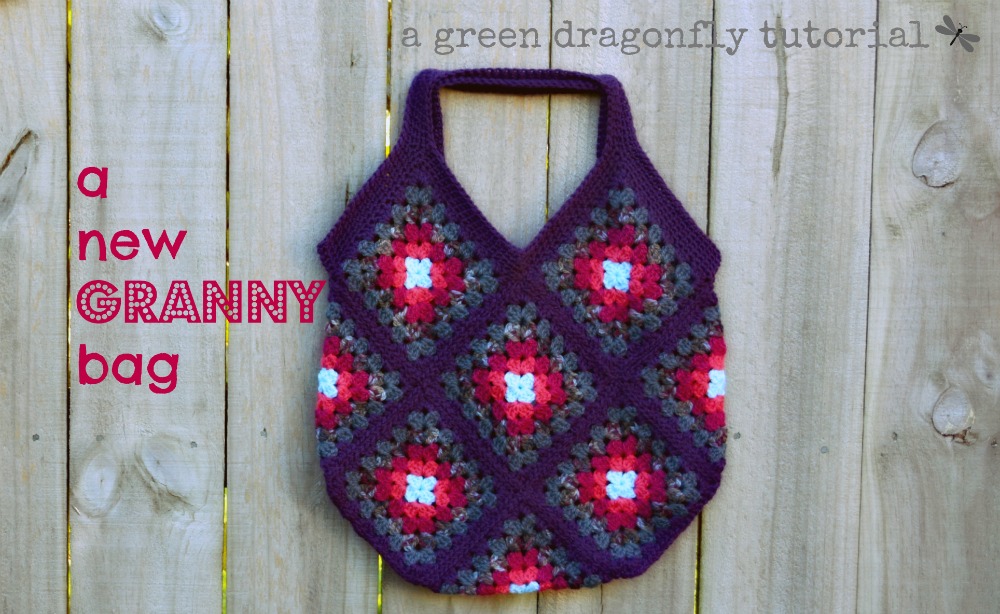
From the single granny bag…
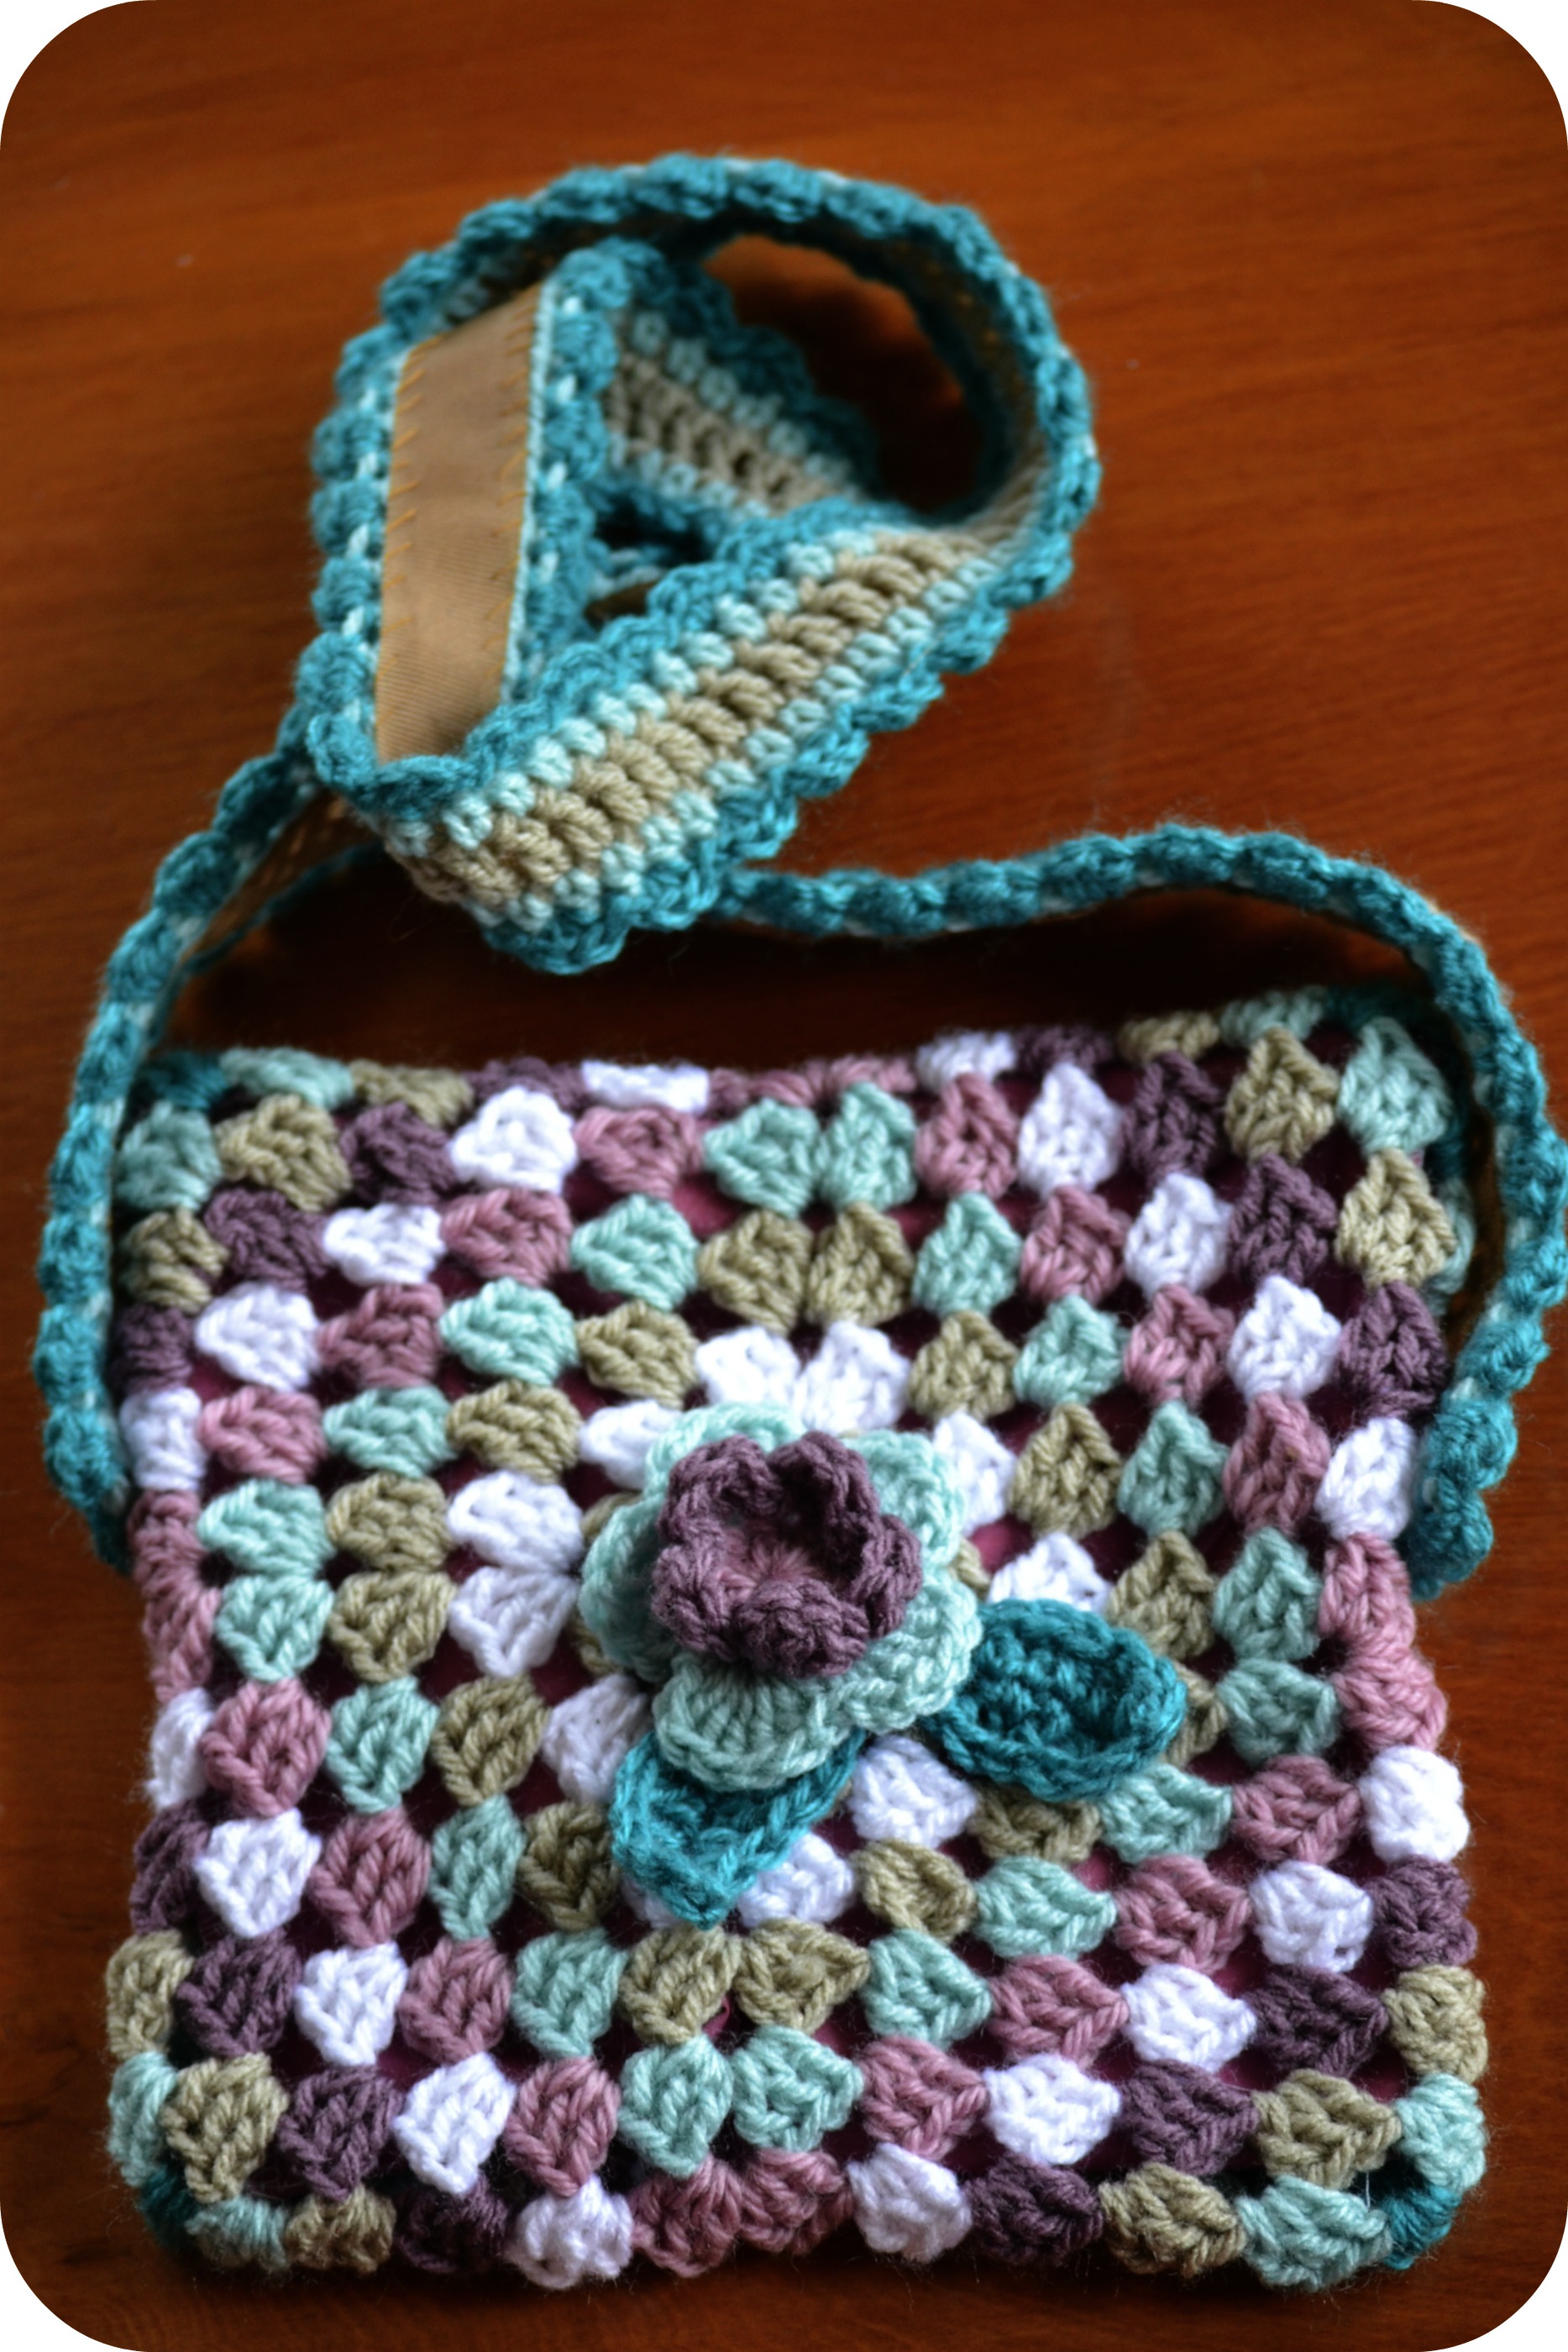 to tiny granny…
 And the giant granny…
 … It’d be fair to say I’ve made a few.
But you can never have too many granny square bags, right? So here’s a lovely quick bag to whip up using 13 of your favourite granny squares!
Step one:
Crochet 13 granny squares. There are no rules to which granny square you use, what color it should be, or how big. But remember the size of the final bag will depend on how heavy your yarn is and many rounds the granny squares have.
I chose my favourite ‘plain’ granny. But there are so many amazing granny designs out there, this bag is only limited by your imagination (and your stash 🙂 ) My granny squares were made using a mix of dk/ light worsted and a 4mm hook. They are 6 rounds. I used the same color combination for all squares, but you don’t have to. If you choose to use different colors, keep in mind you are going to have to join them, and if you don’t want the join to show you will want to use a consistent color for the last round.
Step two: Sew your granny squares together. I do this by holding wrong sides together and sewing a zig zag from one square to the other catching only a single strand from each square.
You want to sew together 5 squares to form an X (one x for the front and one x for the back), then add in three squares which get folded in half and sewn across the front and back: When its finished, it should look like this:
 Step three:
Crochet the outer rounds of the handles….
Round one: join your yarn (in a trough not a peak) and single crochet around the entire upper edge.
Round two: SC in each stitch to the next ‘peak’ then chain 50. Skip the entire next ‘trough’ and join at the opposite peak, then continue with SC to the next ‘peak’, chain 50 and once again skip the next ‘trough’ join on the opposite side and complete the round with SC.
Rounds three and four: SC in every stitch around (including the handles)
 Step four:
Crochet the inner rounds of the handles. Join yarn a stitch or two in from the handle on the inner edge: Single crochet in each stitch around the inner edge of the handle, when you get to the bottom of the trough skip the very middle stitch (this keeps it from bulging) also skip the first and last stitch before the handle:
 Continue working around the inner edge for 3 rounds (total); skipping those three stitches on each round to keep it nice and neat.
 And that’s it, sew in all ends and you are finished! Stash it full of stuff and take it out!
I’m still debating lining this bag… Ill let you know what I decide – but don’t worry, it wont stop me enjoying it as it is in the meantime 🙂
 As always, let me know if you have any problems or questions. And if you make one, I’d love to see it – either send me an email or post it on the facebook page. J xox

Hi Janette, when you say “holding wrong sides together and sewing a zig zag from one square to the other catching only a single strand from each square” are you using a sewing machine or hand sewing or is there a crochet stitch? (sorry – I’m bit of a newbie to crochet) thanks Kylee
LikeLike
Hi Kylie, yes just hand sewing. I’ll try to find a link for you. J
>
LikeLike
This is like how I do it: http://bunnymummy-jacquie.blogspot.co.nz/2011/06/sewing-granny-squares-together.html Hope that helps! J
>
LikeLike
Darling purse, thanks for sharing your pattern. – Sharon
LikeLike
this is really nice! I love granny squares. 🙂
LikeLike
Love it! I am working on my first granny square bag myself, though it’s the first squares I ever crochet and I find them quite hard to do. Getting better at it though 😉 You can see some pics at http ://catstitches.wordpress.com. I was wondering, when bags like this are used, don’t they stretch out to much? You should fill them light, right? Or are they stronger than I would think?
LikeLike
Granny bags aren’t too bad, but a lining definitely makes them last longer (and stops stuff dropping out thru the holes! ) x
>
LikeLike
Ok, and now fill me in: what’s a lining?! Quite new to all of this, only picked up a crochet hook in december 13 for the first time 🙂
LikeLike
It’s sewn out of fabric and then sewn into the inside of the bag… Basically you just sew a bag from a light fabric slightly smaller than the crochet bag, fit it inside wrong side to wrong side and tack into place along the open edge. Look at the granny envelope bag post. J
>
LikeLike
Thanks , that explains a lot!
LikeLike
Oh thanks for another step by step tutorial! I love this bag, so good to see the way you have used the granny square in a new way. Must start one today!
Thanks!
LikeLike
So beautifull…
LikeLike
I’d just started making granny squares for a bag like this yesterday and was still mulling over the best way to do the handles! Seeing your post this morning was just perfect timing 🙂 Lovely colour choices BTW! Mine is in blues, greens and lavender.
LikeLike
Love it!!!!!
xxxxxxx Ale (thank you!!!!!)
LikeLike
Love it! colours and squares and everything. It’s interesting how one can have a ‘thing’ for certain items. With me it seems to be blankets and bookmarks but I have a yearning to make several bags I have seen, they are just too low down on the list but I have added yours. I like how the squares fit together.
LikeLike
Thank you for the tutorial!
LikeLike
¡Qué versátiles son los grannies!, gracias por el tutorial.
LikeLike
This bag is absolutely beautiful! Thanks so much for sharing how you made it. Love the colors that you used. I’d be thrilled if you’d link up at this week’s Off the Hook!
LikeLike
I love it- I have so many color ideas for granny square bags, but the lining job keeps me from doing it. Maybe your recent and really cool bag gives me a boost finally!
LikeLike
Beautiful!! You do fabulous work. I do need to get with you on the ‘cat’ tutorial/pattern….there is a step in there that totally confuses me on the body of the cat…I think it was closing the sides or something, I found it confusing and mine didn’t look as nice as yours!! Lol!! I will see if I can find the pattern, and what exactly it was about it. Sandy
LikeLike
Hi! Is that Caity cat? There is no closing. It’s worked in the round… Let me know where you had trouble. Jx
>
LikeLike
Ok, let me get over there and look for the pattern! Gee thanks for replying!
LikeLike
I think it was in the beginning….a rectangle 8 rows wide and then when it goes to step 2, beginning on the 7th row. I made it, but it was not just like yours! I will work on this again tomorrow, and see if revisiting the instructions…taking my time will work better for me. It has been since the pattern came out, and I simply don’t remember all that well, other then I wanted it just right because it is so adorable! Thank you so much!! Sandy
LikeLike
Ahh, so you make the rectangle then work all around the outside… Building up the cat from the bottom, working in rounds. I’ll see if I can make the instructions clearer 🙂
>
LikeLike
Thank you…that is where I got confused…I am sorry!
LikeLike
I just found you! I’m primarily a knitter, but crochet also. I was looking for some cute little animals to crochet and love your blog!
Thanks for the inspiration!
Vicki
LikeLike
Welcome, thanks for stopping by!!!
LikeLike
This is really great, I’m just getting down to a good hard look at it now! I’m going to forward this to my “students”, they’re hugely keen on granny squares so the more lovely uses for them the better 🙂 Thanks, as always 🙂
LikeLike
Im always keen to find new uses for grannies too!!! Have a lovely day, Jill! xox
LikeLike
On linings and bags: I’ve crocheted a shopping bag, done in the round, without a lining. I’ve used it for years, and it’s OK. It has stretched out, but that’s fine. I’m not sure how seams would be affected. (It also gets more compliments than anything else I carry or wear.) I forgot where the pattern was, though. It’s dc’s and ch1 spaces.
LikeLike
Finally finished my Granny Bag. It was a labor of Hercules, but it is finally done! I doubled the number of chains for the handles (100 ch) as 50 ch turned out to be kind of short. Thanks so much for posting the pattern. I plan to line it too.
LikeLike
I’d like to send you a picture of it. Let me know how to do that.
LikeLike
I have some lovely granny squares from a worldwide exchange I did, as soon as I figure out how to join squares with different number stitches I think they will look amazing in this pattern! Can’t wait
LikeLike
Great, may be you could just add another round or two to whichever is smaller to make them the same size? J
>
LikeLike
Lovely! I just modified your pattern for my sunburst granny squares and I love how it turned out. Thank you so much! Can’t wait to make another bag!
LikeLike