I first came across the nifty idea of pin cushions on top of jars at this lovely Danish site and decided to adapt the same idea for pin cushions on baby food jars… something we have plenty of in our house, being that I’m a jar hoarder and I especially love the tiny perfectness of baby food jars! They are the perfect size for storing your little sewing treasures, so this weekend I made up three for myself and Ive included a tutorial so you can give it a go too…
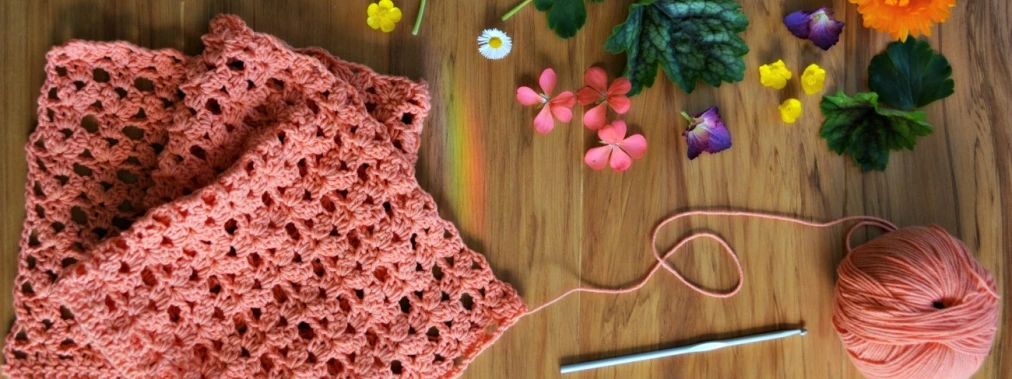
 Pin cushion on top of a jar tutorial.
I used 4 ply cotton and a 2.5mm crochet hook, you could make these with a larger yarn and hook, just adjust the size of your circle as necessary. The lids of the jars I used were 5.3cm and 6.0cm across.
Make a magic circle and 6 single crochet (sc) into the ring. Pull your ring tight and join with a slip stitch into the first sc. Mark your first stitch on each round with a stitch marker. After the first round you do not join each row, just continue on the round (this is why you need to mark the start of each round with a marker).
Round 2. 2 sc in each stitch around (12 sc)
Round 3. 1 sc in the first stitch, 2 sc in the next stitch, repeat around (18 sc)
Round 4. 1 sc in the next two stitches, 2 sc in the next stitch, repeat around (24)
Round 5. 1 sc in the next three stitches, 2 sc in the next stitch, repeat around (30)
Round 6. 1 sc in the next four stitches, 2 sc in the next stitch, repeat around, (36). Check the size of your circle at this point, it should be approximately the same size as your lid- a little bit smaller is ok, it will stretch out a bit. If you need to add another round of increases- 1 sc in the next five stitches, 2 sc in the next stitch, repeat around (42). The yellow pin cushion has this extra round of increases. If you are using larger hook and yarn, or jar, just increase until your circle is approximately the same size as you lid.
Rounds 7 – 15 sc in each stitch around.
Round 16. Loosely slip stitch in each stitch around. Weave in end.
Sew any embellishments you may like to add to your pincushion at this point (before you stuff it).
 To make a flower like the one on the light purple pin cushion; Make a magic circle and sc 10 times into the circle. Pull circle tight and join with a ss. Change colour for petals. 3 Double crochet into the next sc, ss into the next sc around. Fasten off and weave in the ends.
In case you are wondering the lady bug on the yellow pin cushion is a button.
Stuff pincushion, allowing enough room for the lid to fit into the hole. Using glue (I used super glue) carefully attach the pin cushion to your lid (I glued the lid and pulled the pin cushion over it adjusting it quickly before the glue dried). At this point you can also attach some lace/ric rac/pretty ribbon around the lid (overlapping the edge of the crochet) as well.
Yay, all done!
 Have a happy Sunday! Janette x x x

cute 🙂
LikeLike
Thanks for the idea and the tutorial. I’ve made one and you can see it on my blog http://isitatoy.blogspot.com.
The only difficulty I had was glueing it onto the jar lid before the glue really stuck. And I got it all over my fingers!
LikeLiked by 1 person
I overcame the aqward glue problem by crocheting a round disk with the same number of stitches as the last round of the pincushion top. I then cut a round piece of cardboard to the same size, placing it over the stuffing before stitching the crocheted disk to the pincushion top. This forms a flat surface to glue flat to the lid. You can then cover the edge of the lid as directed in this pattern.
LikeLike
Hi Jannette! I fell in love with your design again! That’s why I’m choosing it as my Pick of the Week. I’ll borrow your photo, okay?
LikeLike
Hi Moira thanks for stopping by and I’d love to have you link up.
LikeLike
so practical and cute! finally a great use for some of so many jars in my cupboard
LikeLike
These are such a great idea! I was thinking about making a pin cushion but now I want to go the extra step and use a jar too.
LikeLike
Very sweet… and a great storage and display idea. ayou could put just about anything small in them.
LikeLike
what brand of yarn did you use can you specify as I’m a beginner and don’t know what kind to buy – thank you !
LikeLike
Hi, I used panda regal 4ply 100% mercenized cotton. Good luck 🙂
LikeLike
Thanks for the idea I have a new found love for making pin cushions and am always looking for new ideas and its a great recycle idea .
LikeLike
I was just lamenting yesterday about needing spin cushion when I sew on the sofa. . . 🙂
LikeLike
Another idea for attaching to the lid 🙂 do Sally’s idea (above) and then get a small nail or nail punch and make some holes, try not to make them too rough (if you do, use a tiny piece of sandpaper and buff them down) and sew the rest onto the top! Bliss! ( I hate using glue, so messy and gross sometimes! Hehe. Thanks heaps Janette, I’ve made so many of your things as wonderful one of a kind gifts, keep em coming I’m addicted! 🙂
LikeLike
Hey that’s a really awesome idea. I love it, and I’m going going to give it a go! Thanks for your lovely message xx
>
LikeLike
good idea… i like it very much and try to make it. hope, i can do :))
LikeLike
Reblogged this on Krafty-Senior–Needle News and commented:
These are so Cute as they are Pretty, Lit’l Gifts for Easter, Mothers Day ????
LikeLike